Next month I’m participating for the second time in 30 Days of Lists, and for this round I’m also serving as a challenge Ambassador. 30 Days of Lists brings people together in the spirit of simple journaling, scrapbookers and non-scrapbookers alike.

If you’re already signed up or even still considering it, here’s a step-by-step list to prepare yourself for the journey.
Step 1. Sign Up
While there are many ways to get involved in memory keeping online, there are few that offer so much value on one sweet package. 30 Days of Lists is just $8 for thirty daily journaling prompts, many giveaway opportunities and a fun support group. Click here to sign up.
Step 2. Download Your Checklist
All Listers get access to several free bonuses, including a special checklist I created to help you both prepare and stay on track. Yes, you get a list for your listing!
Step 3. Gather Supplies
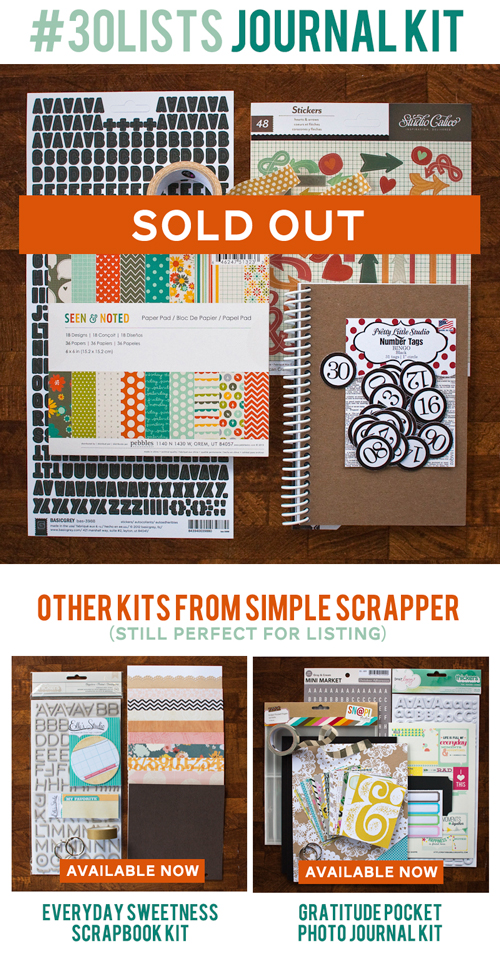
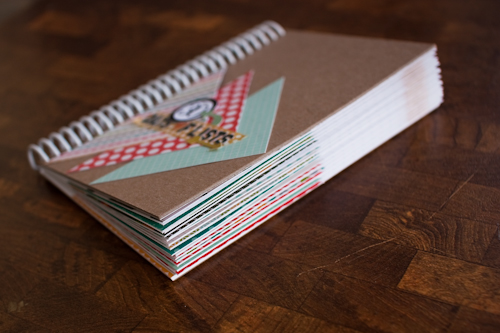
This project begs for a special journal to keep your lists. Earlier this month I released a companion kit for this round of 30 Days of Lists. It sold out in just over 24 hours! While it is no longer available, the other kits currently in our shop would be quite suitable as well!
Step 4. Prepare a Foundation
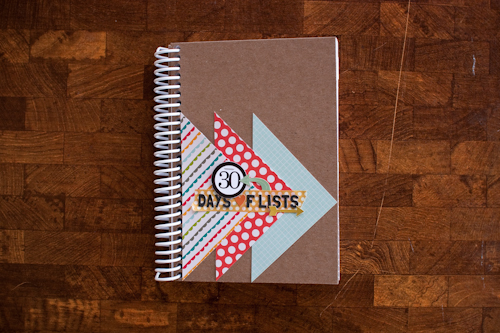
If you’re using a more creative set of supplies, you may want to decorate a cover and prepare your pages for listing. This step, while optional, can make the project more fun and help you stick with it.
I used the kit for my foundation, preparing one page per list with a consistent look and feel for each spread.
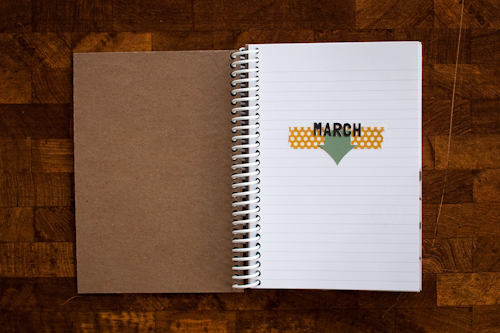

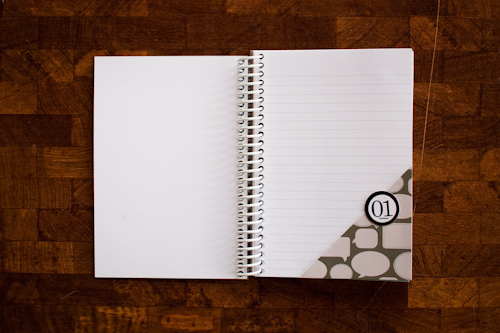

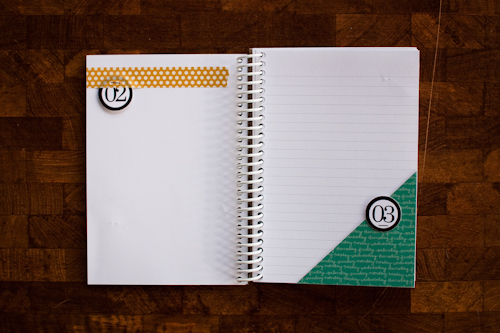

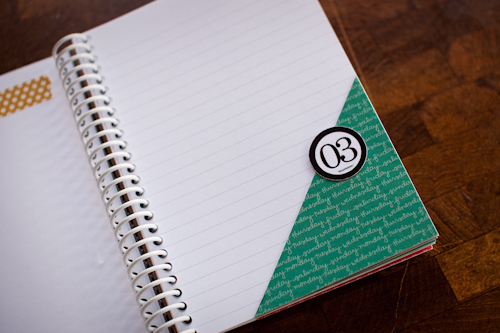
Each spread is exactly like Day 2-3, with a different patterned paper on the odd-numbered side.
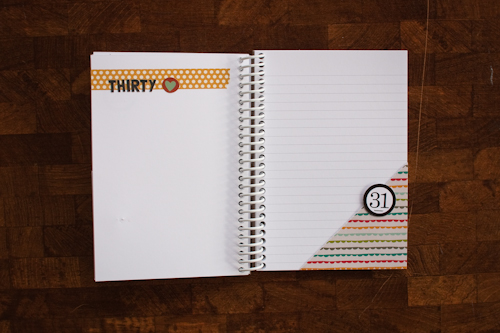
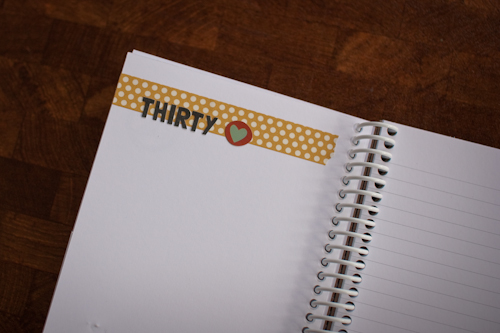

Yes, I realize this is 30 Days of Lists. I’ll be using Day 31 to reflect on what I learned.
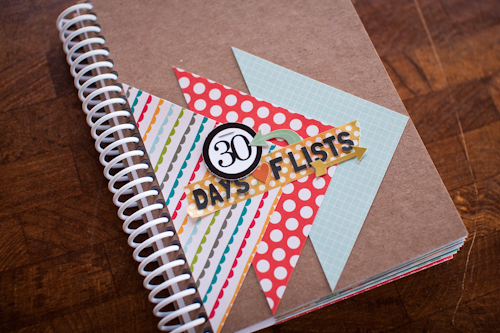
I used my Tim Holtz Tiny Attacher to secure the number tags. It added a little bulk, yes, but like how it gives the book some substance without being crazy thick.
Step 5. Start Listing
30 Days of Lists begins March 1 on a private Lister-only blog. Make sure you sign up now so you can follow along with the group! And don’t forget, you can use the hashtag #30lists to keep up on Twitter and Instagram.
Note: I am an affiliate for 30 Days of Lists and thus, your registration through my link financially supports Simple Scrapper.

Thanks Jennifer for sharing your journal. I was one of the lucky ones and got one of the 30list journal kits. Love the papers!! And the journal is a great size for me.
Happy Listing!!
I love the way you set this up! I just received my kit (the one I won, thank you again!!) and I’m excited to start putting my own journal together. Definitely looking to you for inspiration, as I was completely STUCK on how to start. Thanks for sharing!
I started by thinking about the circle tags and how I would want them to look and where I would want them to go.
Looks great Jennifer! I love the consistent look and how coloful the paper is. It’s really fun how you used the number tags but also spelled out some of the numbers. I put together my 30 Days of Lists journal together too, you can see it here: http://www.katiesnestingspot.com/2013/02/thirty-days-of-lists-im-joining-in.html
Your journal is so pretty! I love the Dear Lizzy lines too.
And kudos for re-purposing something you already had!
Thanks!