This post is part of our summer storytelling series. Click here to register for Stories of the Summer, a free summer scrapbooking class.
%20digital%20stamps%20to%20photos%20with%20iPhone%20or%20iPad)
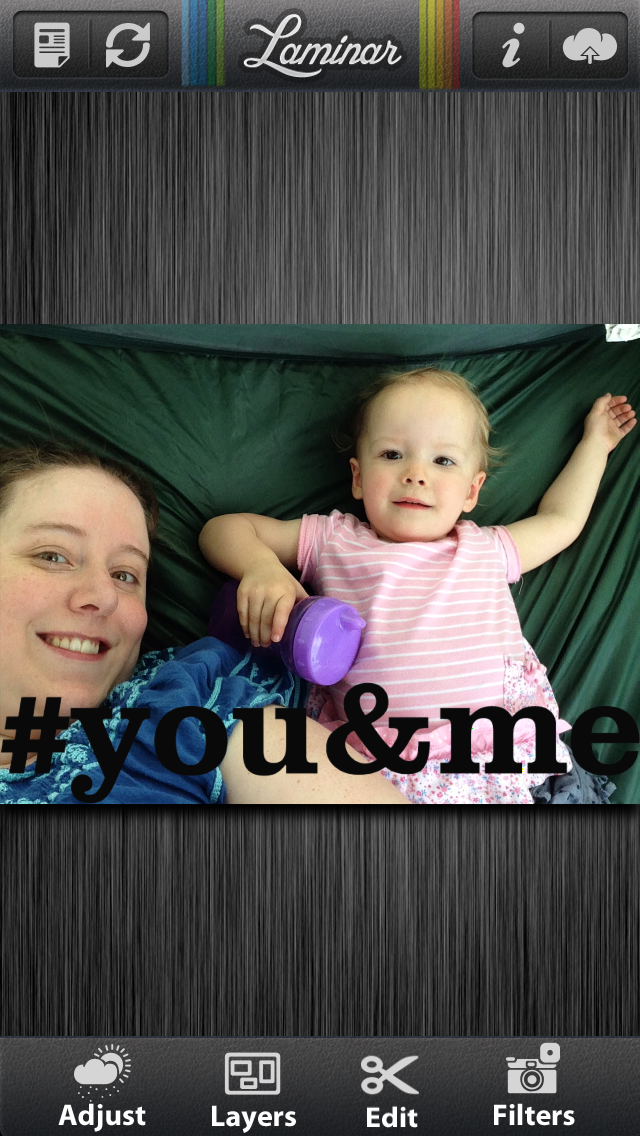
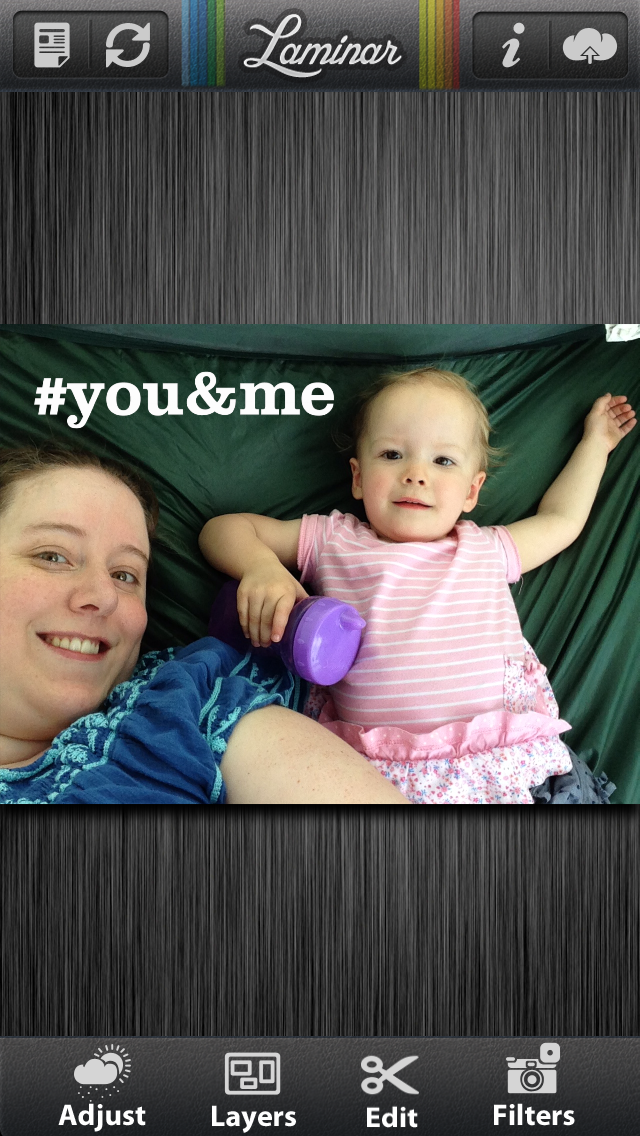
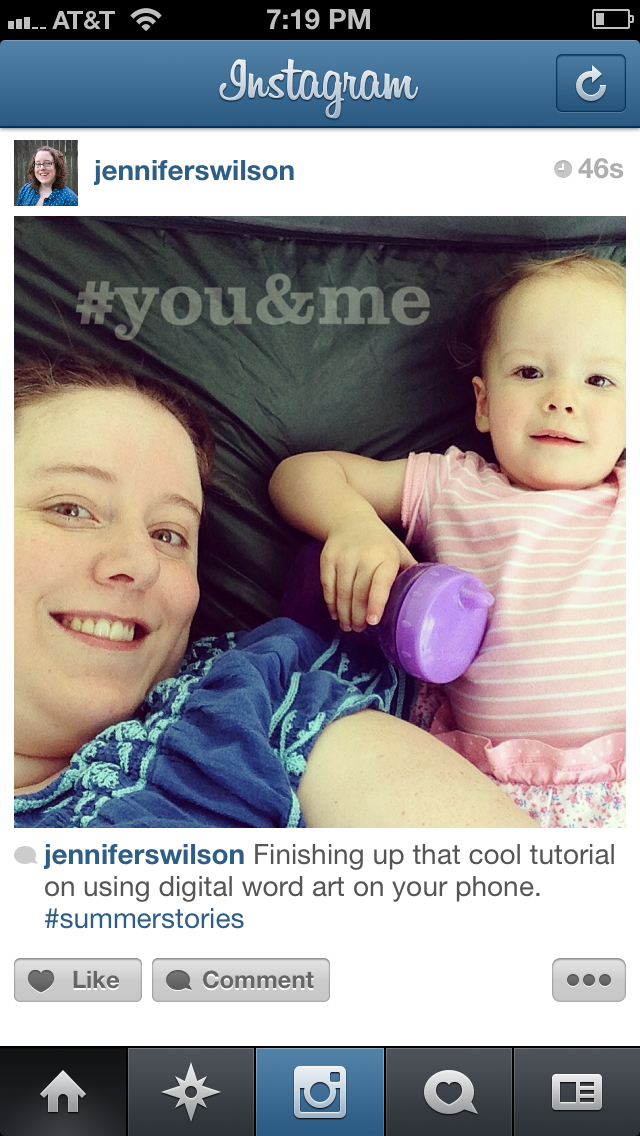
Last weekend I shared this image on Instagram. I used a digital stamp from my Summer Stories Toolkit (see details below) on top of a silhouette photo taken at a recently graduation party. I knew right away I just had to share this relatively easy technique in a post!
Note: The instructions provided are for iPhone, but the apps used are available for iPad as well.
Step 1. Add Digital Stamp to iPhone via Dropbox
Dropbox is a free cloud storage and syncing service that I use on all of my devices. It works on Mac or PC and there are apps for iPad and iPhone. It is the easiest way to access any file on your phone by just dragging it to a folder on your computer.
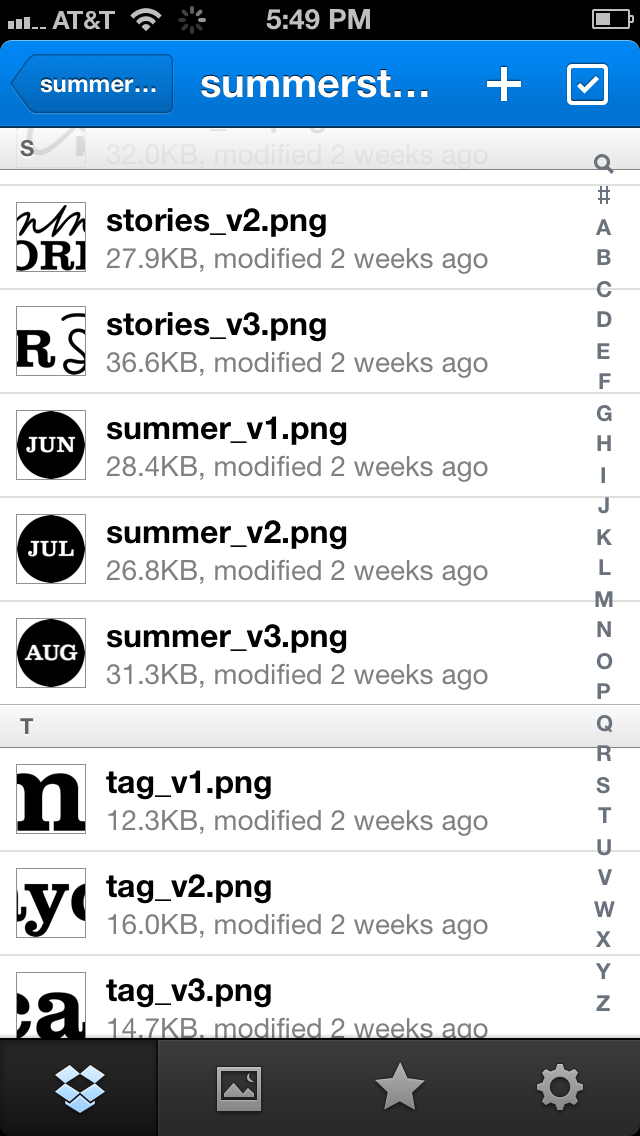
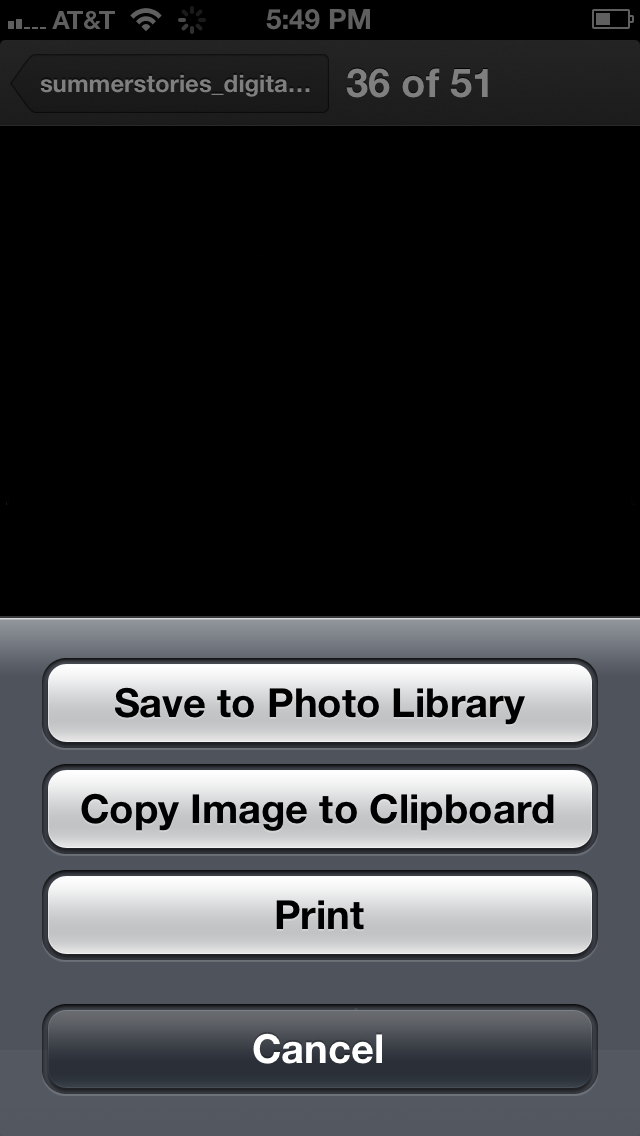
Once you open the Dropbox app and identify the desired word art file, click the file to open it. Since it is a black png file you won’t be able to see it. Click the icon in the lower right that is an arrow pointing down into a box. Select the option to “Save to Photo Library.” (You can alternately copy the file to the clipboard.)
Note: If you don’t wish to use Dropbox, you can email the word art files to yourself and save them to the Camera Roll from your email. Other cloud storage options like Google Drive could work as well.
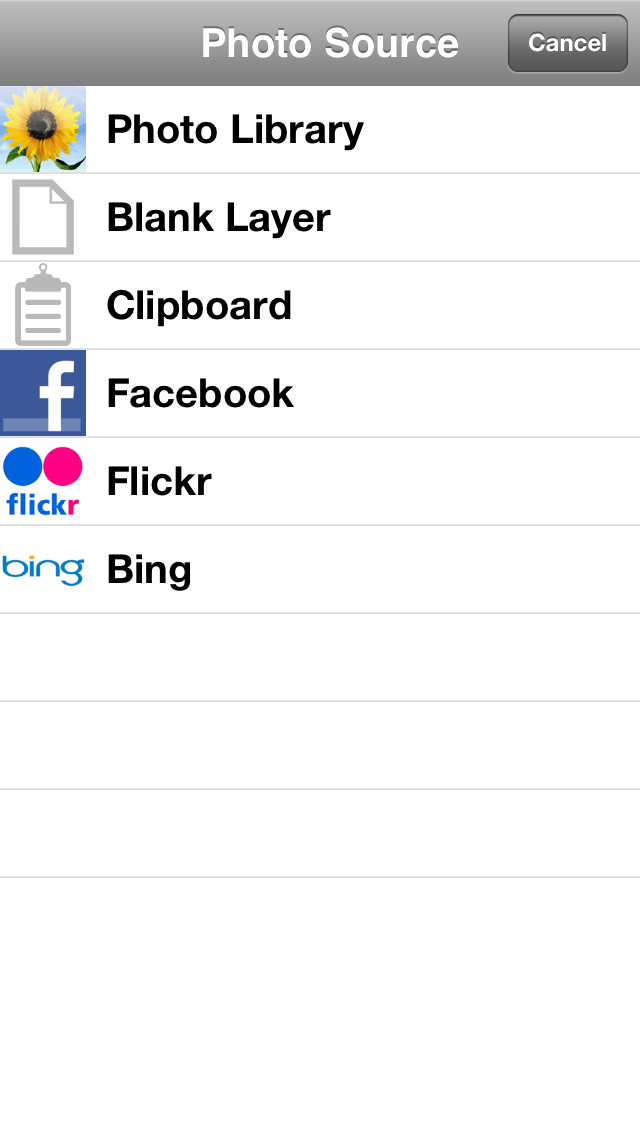
Step 2. Add Digital Stamp to Photo in Laminar
Laminar is an inexpensive photo editing app with powerful capabilities for creating masks and layers. We can use it for the entire process of adding and recoloring digital stamps to your photos. (Note: You’ll want the Pro version for an enhanced experience on iPad.)
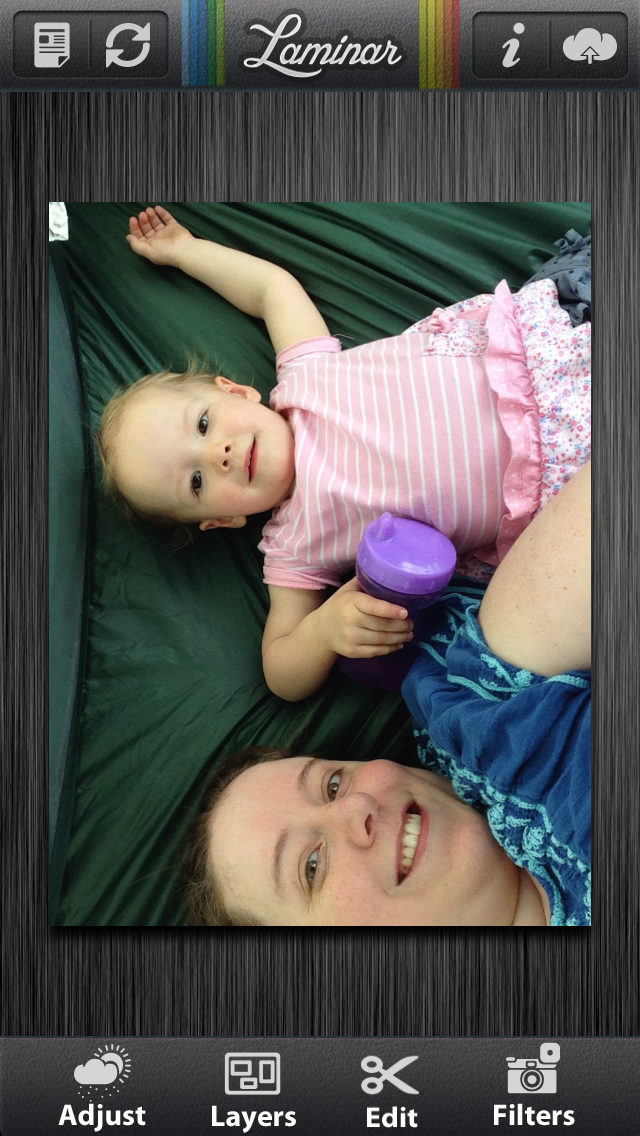
1. When you open the Laminar app, it will ask for the source of the image you want to use. Select your photo from the Photo Library.
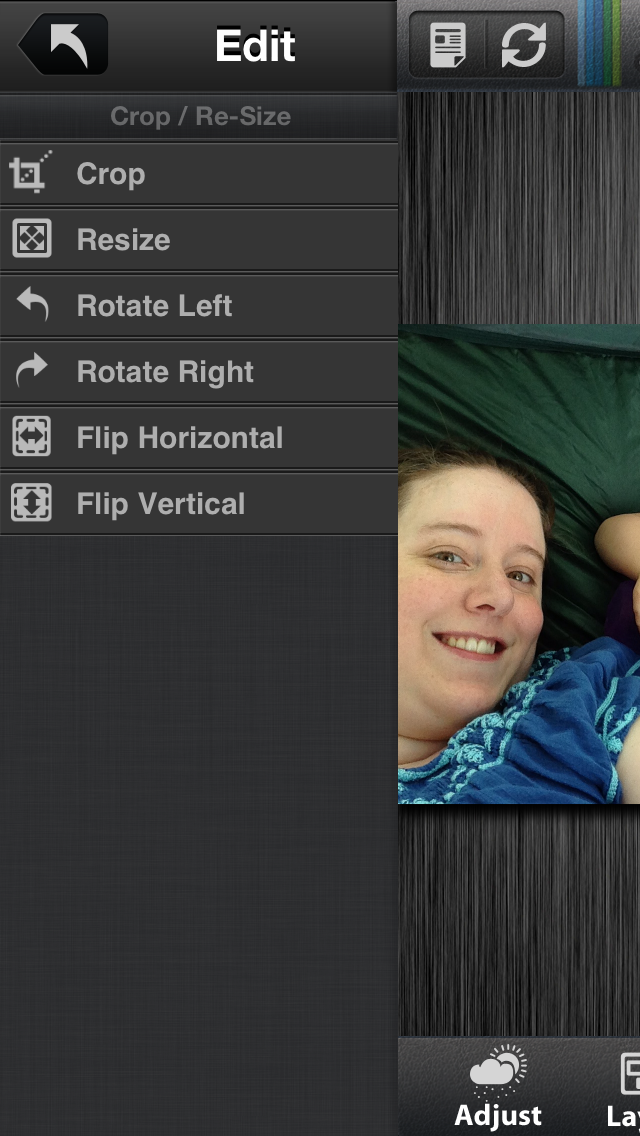
2. Rotate your image, if needed, by selecting Edit > Crop/Size and then the direction of rotation desired.

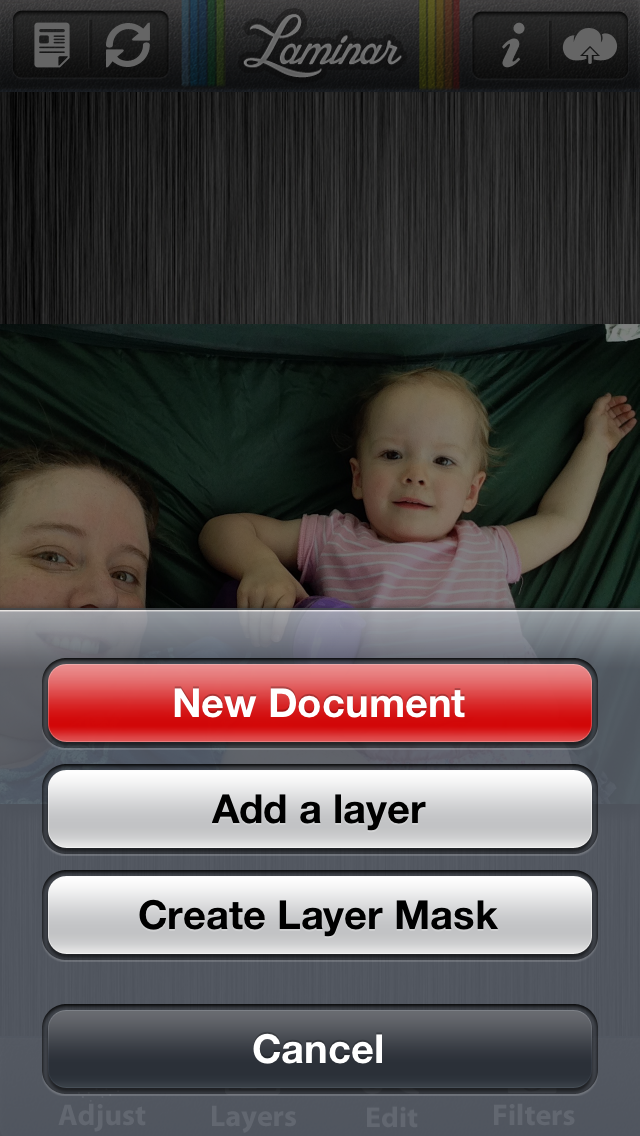
3. Click the icon in the top left. Select the option to “Add Layer”. It will again ask you for the image source.
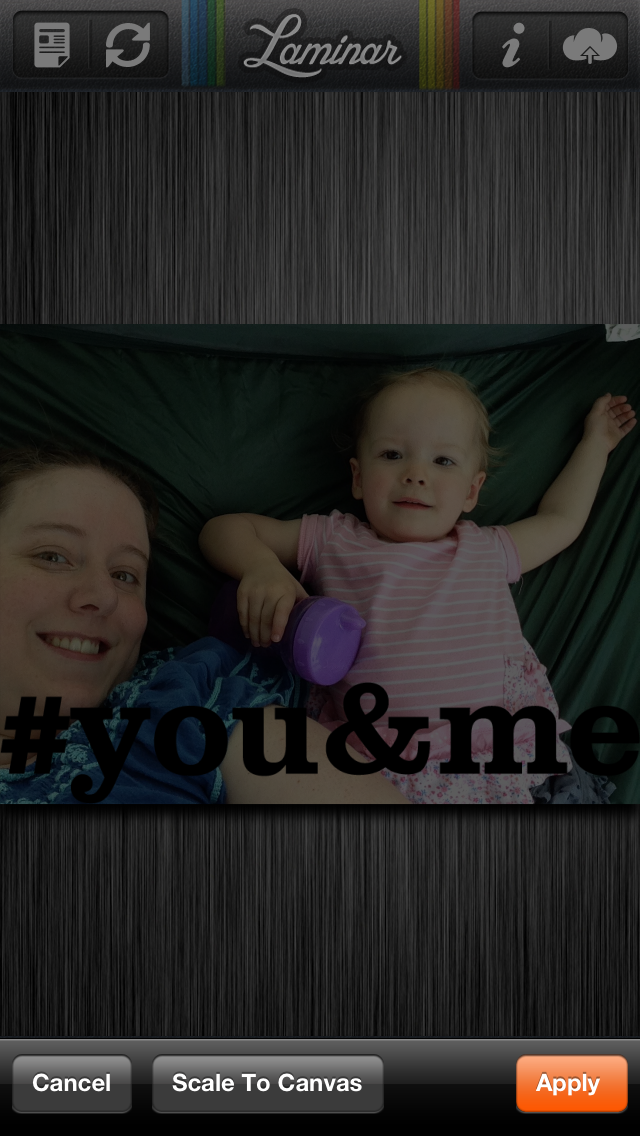
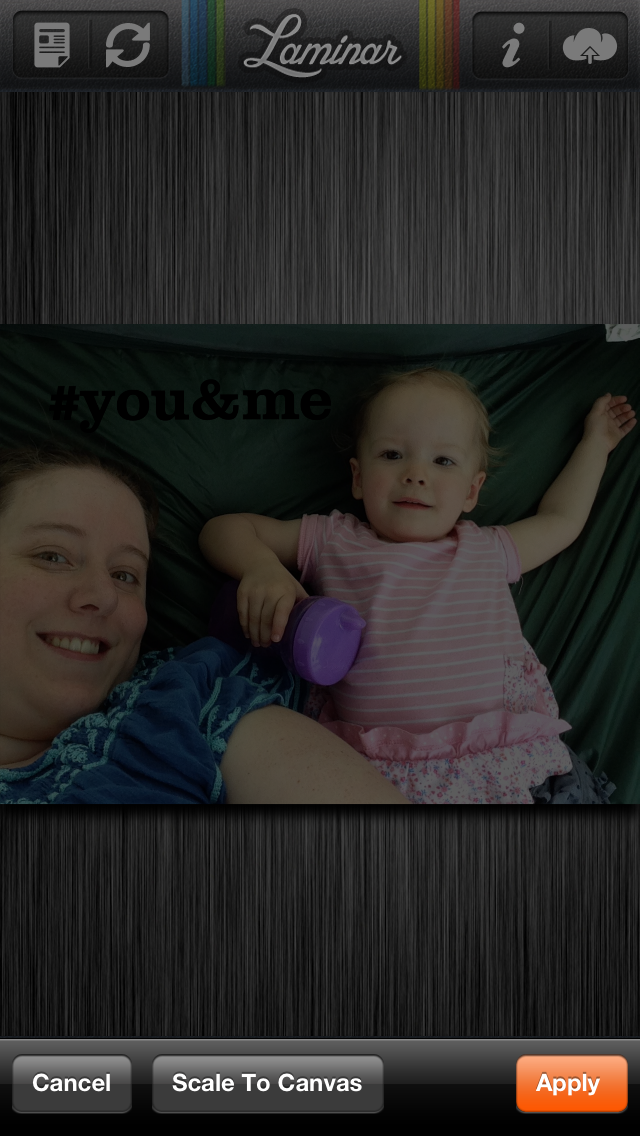
4. Select Layers > Transform to allow manipulation of your digital stamp. Use your fingers to re-size and move it to the desired location. Click “Apply” when done.
5. (Optional) If you want to keep the stamp black, at this stage you can select the cloud icon in the top right with the arrow on it. Then choose the desired export format, size, and destination.
Step 3. Recolor the Digital Stamp in Laminar
Other apps have layers (like PhotoForge2), but Laminar also has this masking feature that makes it super easy to recolor elements.
While you could recolor your digital stamps on the computer, the whole point here is to do things quickly on your phone. Here’s how to change a black png file to any color in the Laminar app.
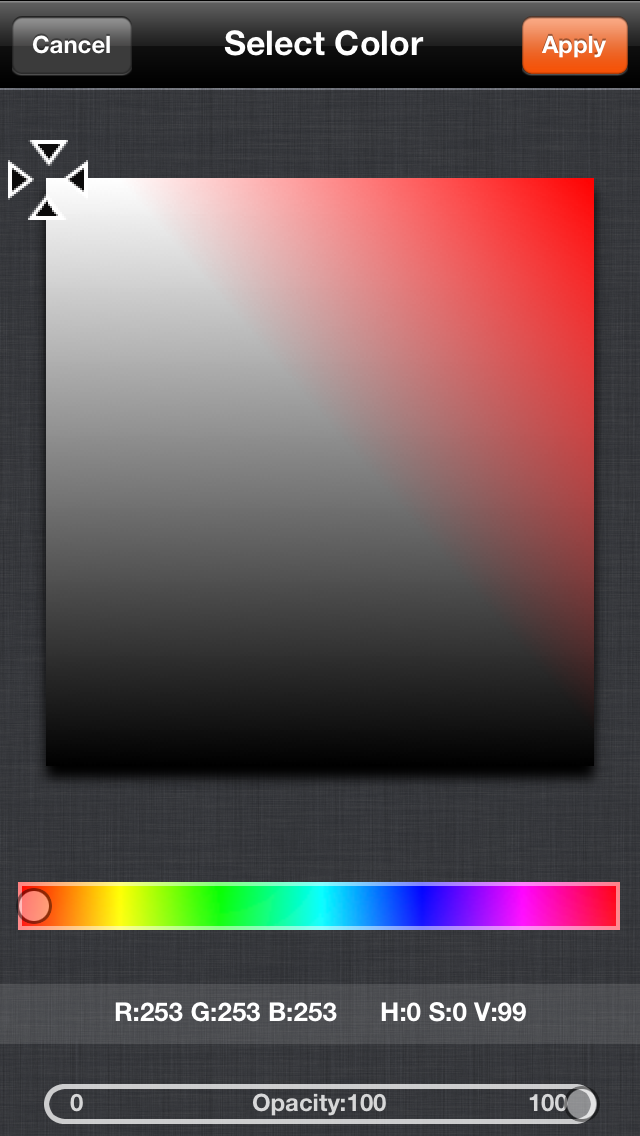
1. Click the icon in the top left. Select the option to “Create Layer Mask”.
3. Then select “Apply”.
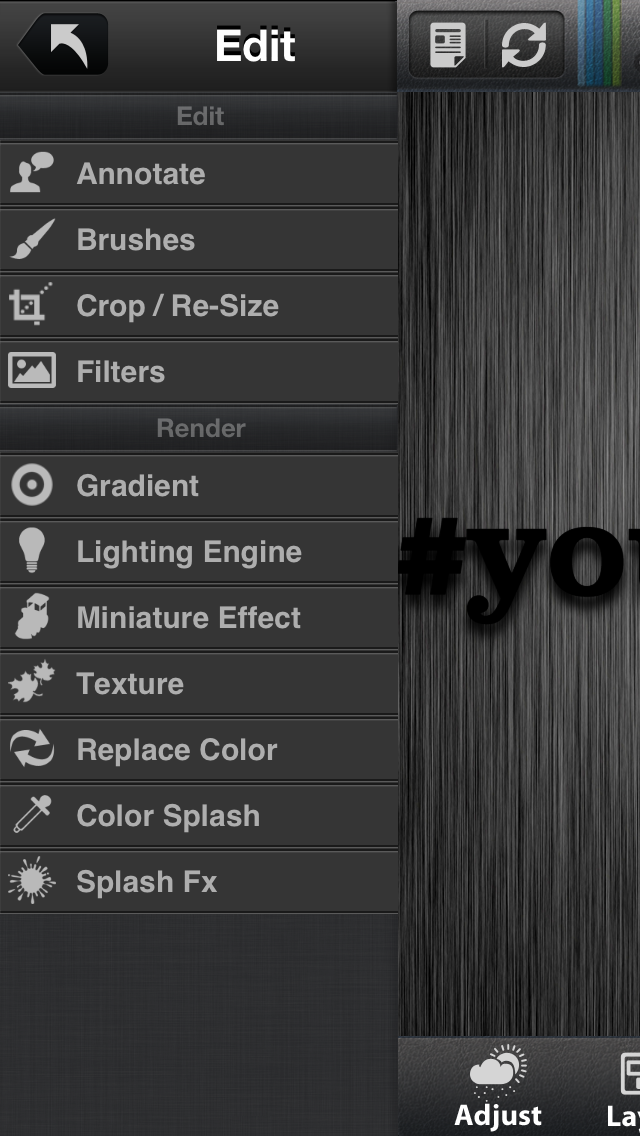
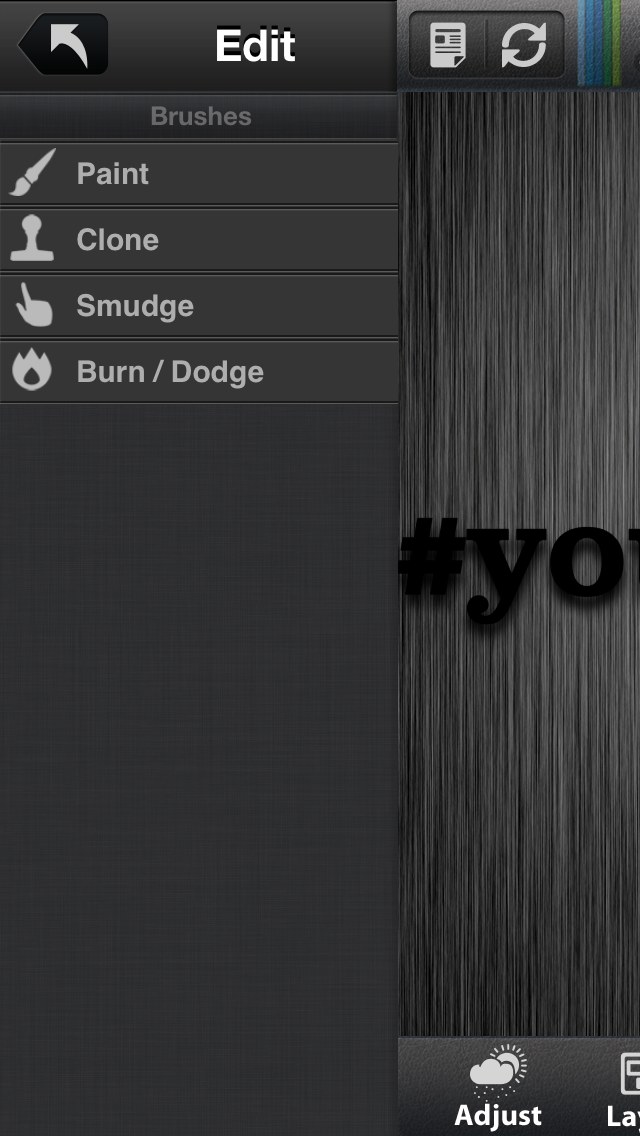
4. Click “Edit” from the bottom menu and select “Brushes”.
5. Select “Paint”.
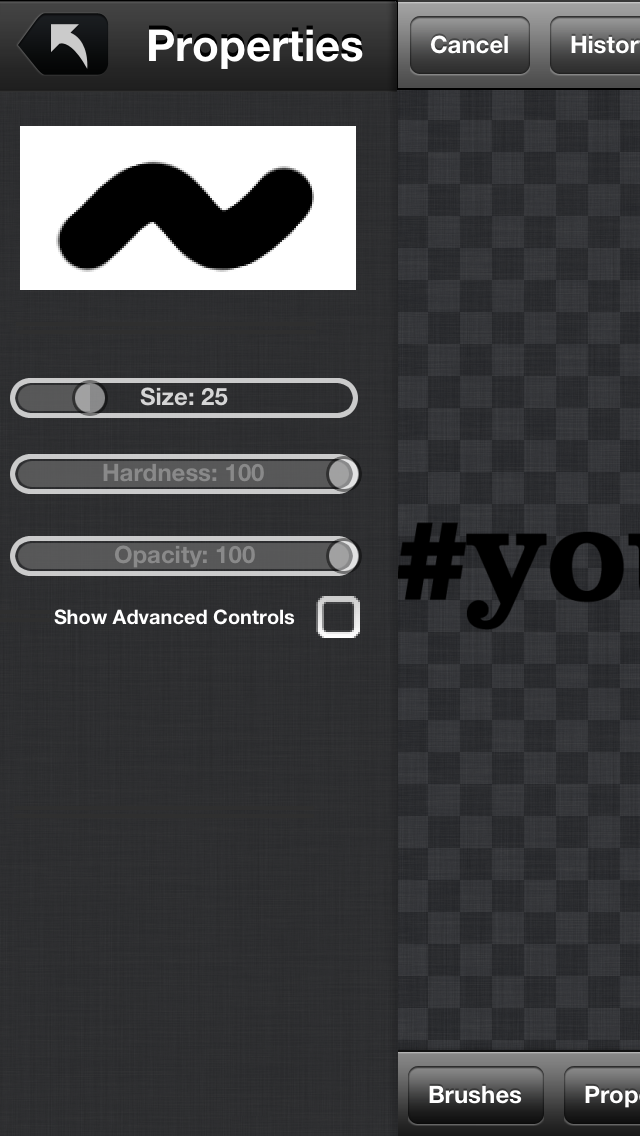
6. Click “Properties” to increase the brush size. You want a fat brush.
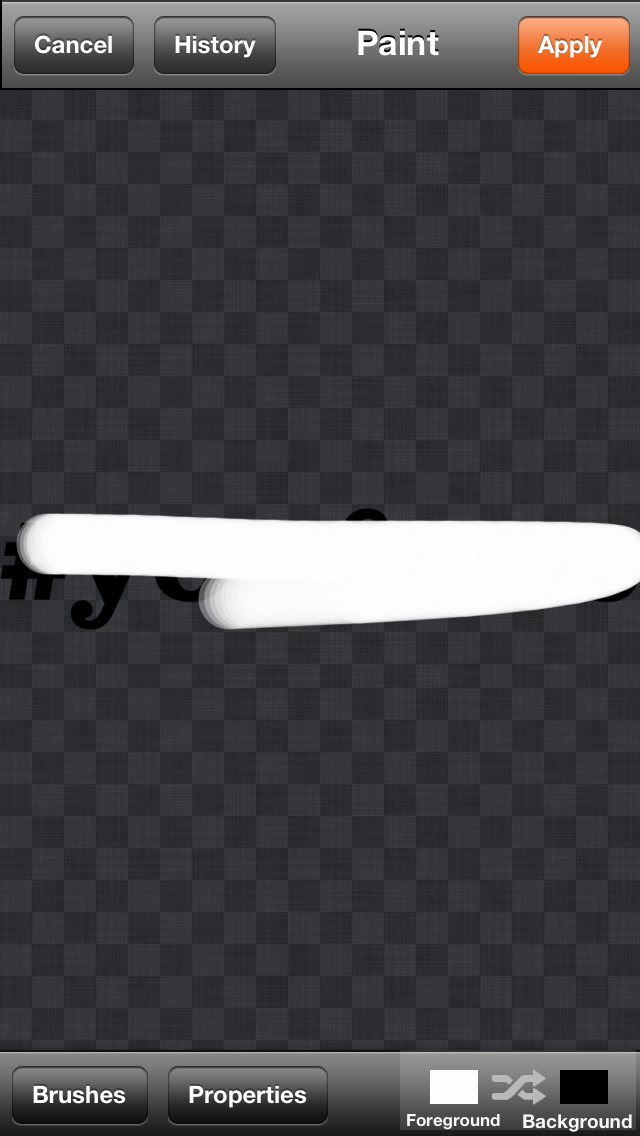
7. Use your finger to cover the digital stamp with color. Click “Apply”.

8. Select “Layers” and then the transparent layer with your digital stamp. This highlights the layer. Select “Layer” again and then “Delete Layer”.
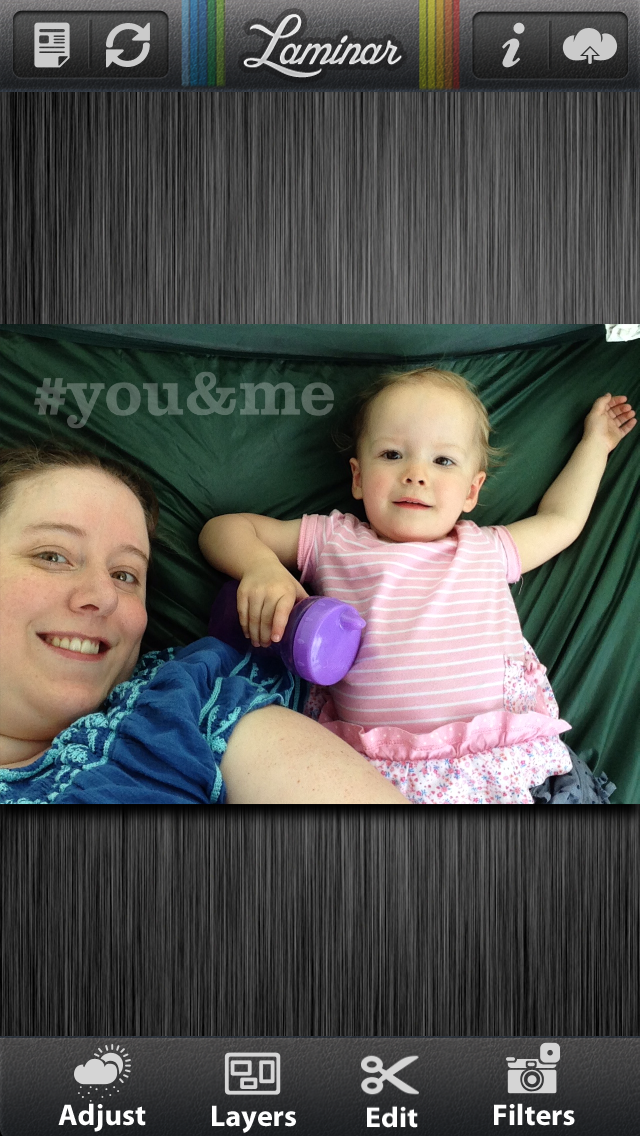
9. Select “Layers” and then the layer with your color mask. Select “Layers” again and then, if desired, drag the opacity slider to the left.
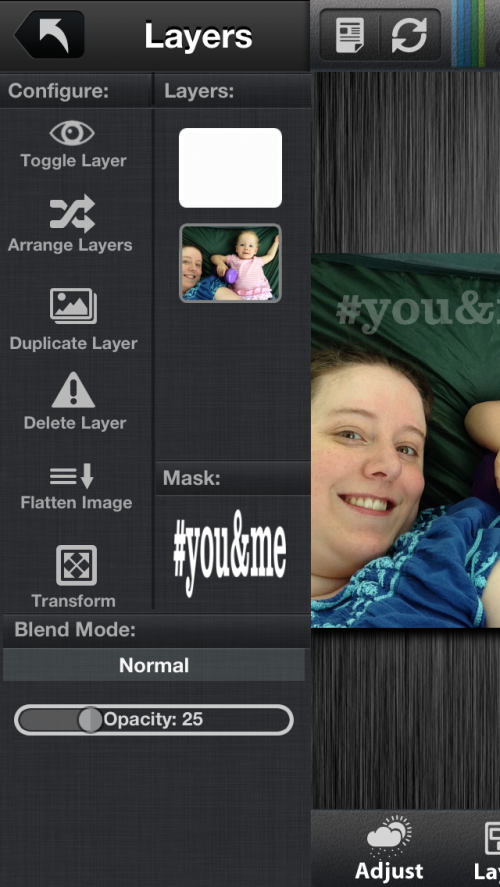
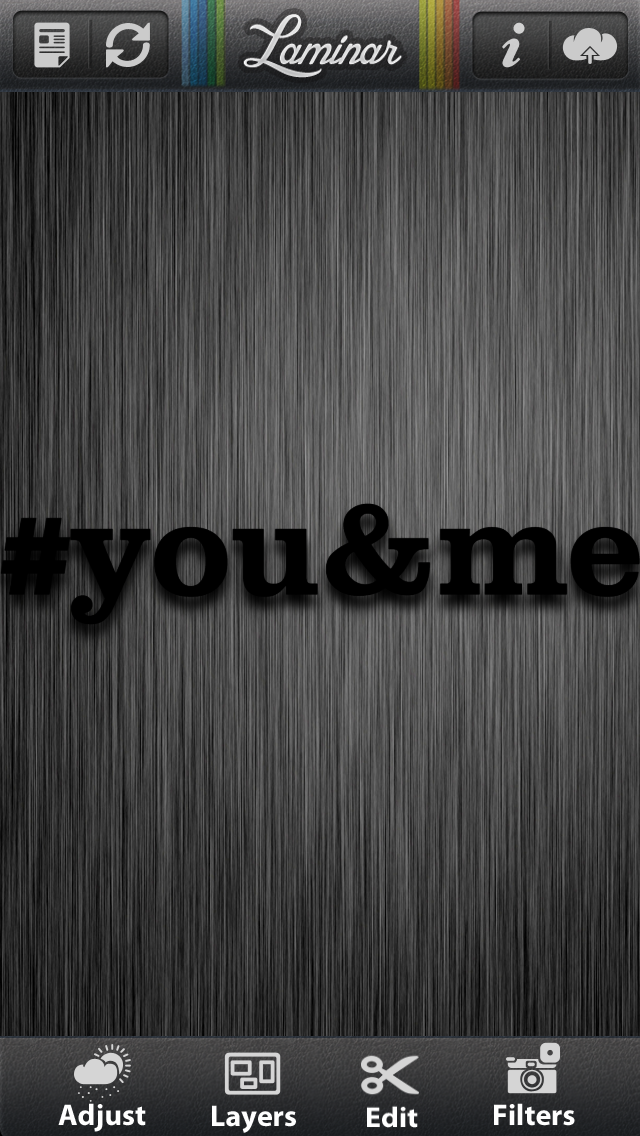
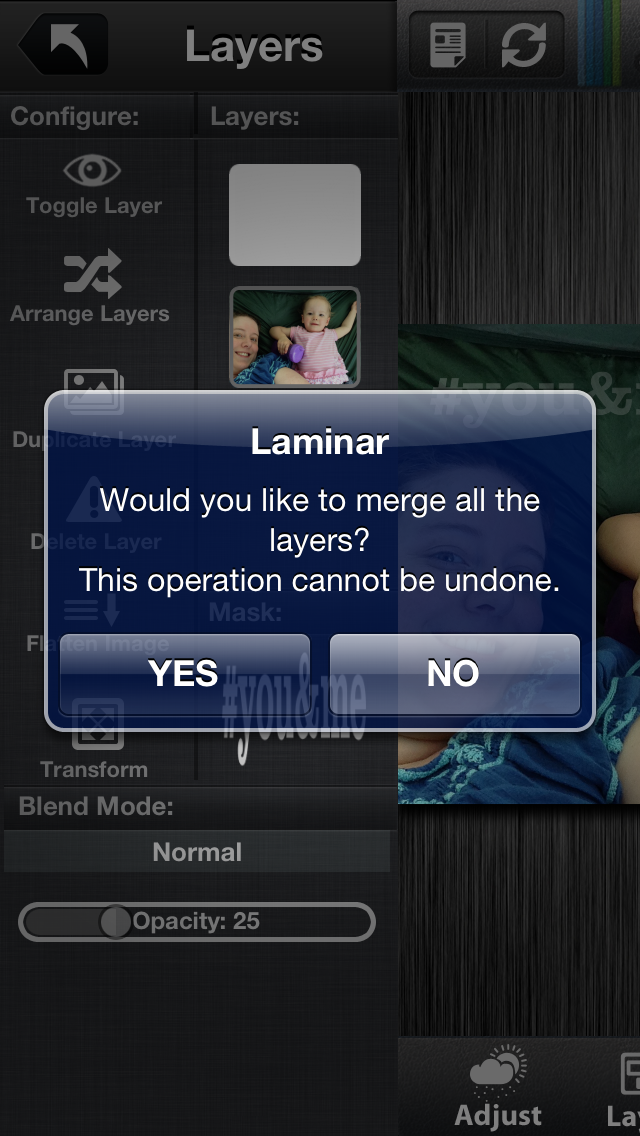
10. Select “Layers” and then “Flatten Image”.
11. You may crop within Laminar, if desired, by selecting Edit > Crop/Re-Size. Then go ahead and select the cloud icon in the top right with the arrow on it. Choose the desired export format, size, and destination.
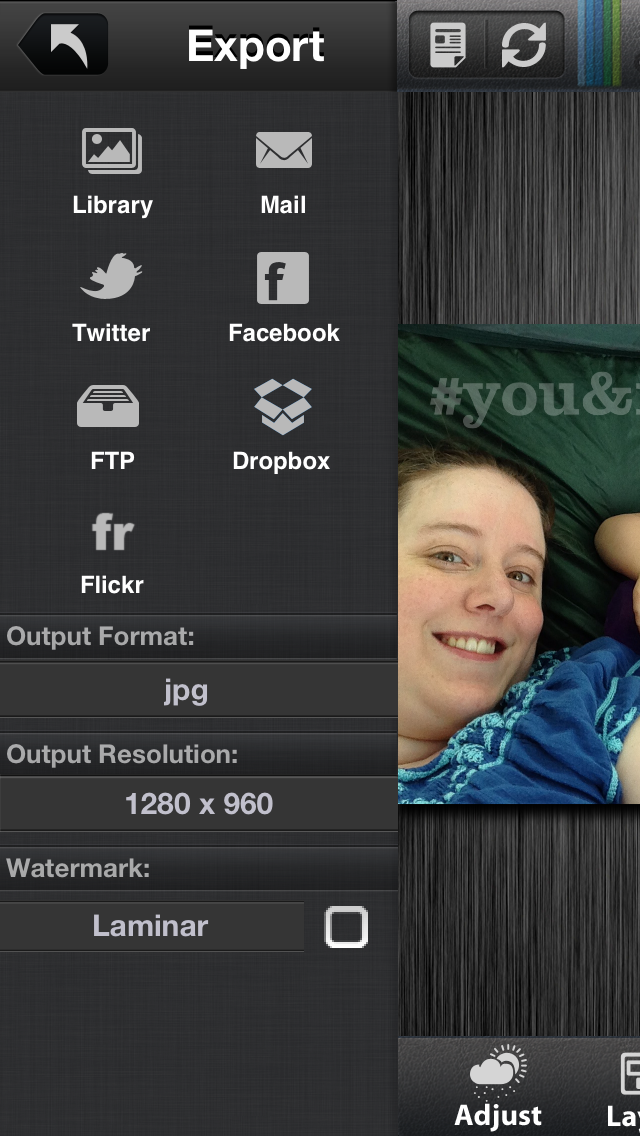
12. From here you may share your enhanced photo to various web locations or send it to your printer. I opened mine in Instagram and applied the Valencia filter.
There are so many possibilities and I can’t wait to see what you do with this technique. Make sure to share your summer photos (with and without digital stamps) with the hashtag #summerstories.
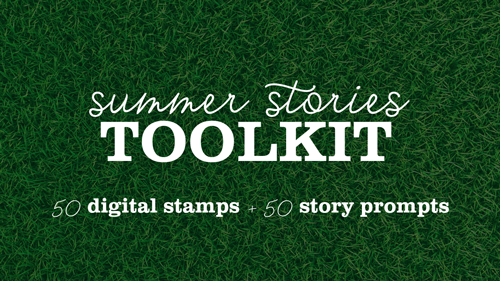
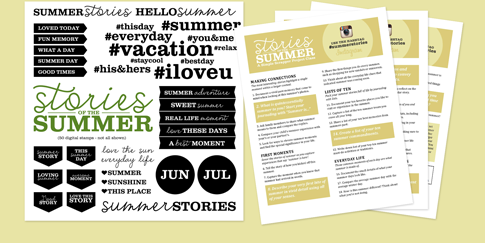
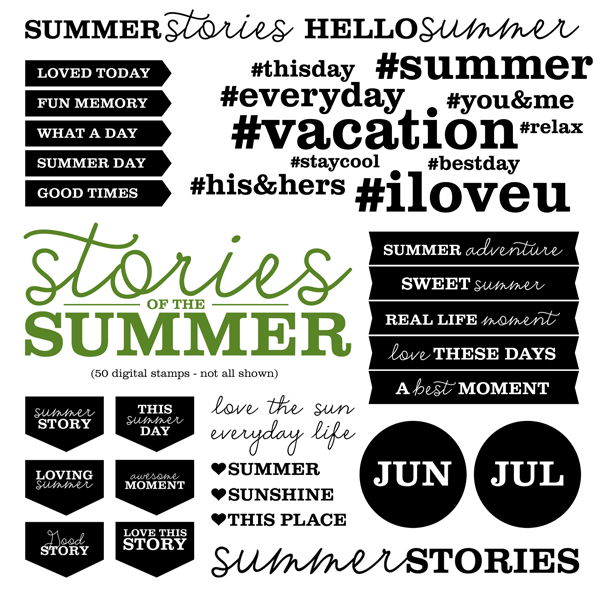
Ready to try it out? I’ve developed a special toolkit for summer memory keeping, which includes the digital stamps shown as well as 50 story prompts for your summertime.
Get a jumpstart on your summer storytelling!
- 50 exclusive digital stamps (.png + .abr, preview)
- 50 original summer-centered story prompts
- Delivered immediately via instant digital download
Grab the toolkit now for $16.99
(or just $9.99* with you FREE Stories of the Summer registration)

*Discounted checkout revealed after you enroll in the free class.
Have questions about this tutorial? Leave a comment below.

This is an awesome technique! Thanks so much for sharing
Thanks so much for this tutorial. I had this app since a long time, but I never used it ;-( now it will be a real nice game !
Thanks for this one already, the possibilities are endless, whoohooo, loving this class already, LOL!!
Wow! Thanks for the tutorial.. and for recommending Laminar! I’ve been taking photos with my iPhone for some time now, but have only recently begun to discover the world of photo editing apps available. After following your step-by-step, I can tell this is going to become one of my favorite iTools!
Most welcome! They have other cool features too, including filters, adding text etc. It’s neat that so much functionality is in the “lite” version too.
The digital stamp looks great on the pic. I did sign up for the free class (thank you), & am hopeful that I can learn lots about the technology that can help me with scrapbooking. Being nearly 60, I did not grow up with a computer, & have no little ones in the house to teach me! Please bear with me if I ask amazingly dumb-sounding questions! P.S. I just flew home from Champaign, where my son & family moved, as he has a new job @ Carl Hosp.- lovely town!)
Happy to help anytime I can Donna! And next time you’re in town, email me and we can have coffee.
Hi! I know this is an old post but hoping to get a response. Would digital stamps also work in the Procreate app? Thanks!
I have not used Procreate but it looks like you can import transparent .png files.