Wow, life got in the way yesterday. My Friday was such a blur – from hosting a webinar at work to caring for my husband who is still recovering from knee surgery to watching my stepson direct The Complete Works of William Shakespeare (Abridged) at the high school last night. We’ll return to regular programming today with “Ask Simple Scrapper”.
I received a great question yesterday from a beginning digital scrapper. She has photos and a kit all ready to go. She has Photoshop Elements 7 installed, but just doesn’t know where to begin. This post will take you step-by-step through your first layout. (I’m using Photoshop Elements 6 for Mac so each screen might not look exactly the same.)
Step 1:Â Creating a foundation page
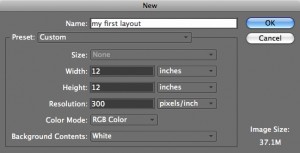
Open Photoshop Elements. If there is a startup screen, select “Start from scratch”. In my version, the “New” box automatically pops up. You can also create a new page by selecting “File” and then “New”.
In this box, you want to create a document that is 12 inches wide and 12 inches tall with a resolution of 300 pixels per inch. You also want to select RGB color and the background to be white. Optionally, you can also name your file in this dialog box.
You should end up with a square blank page.
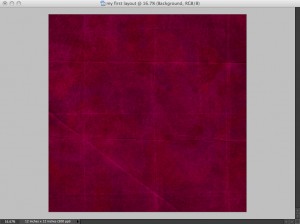
Step 2: Add a background paper
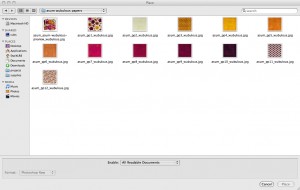
The easiest way I’ve found to get digital supplies from folder to page is with the “Place” function. Go to “File”, then”Place”. This will open up a window that allows you to browse all the files on your computer. You want to navigate to the location of the background paper you want to use. It helps to have one folder were you keep digital scrapbooking files.
For this example, I’m using Amy Sumrall’s Wubulous kit, her entry to DSA’s SYTYCD contest.
Step 3: Adding elements
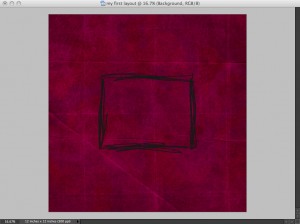
This is the fun part, where you can add more papers, elements and alphas to create an attractive design. Just as with the first background paper, you want to use “File” and then “Place” to add new items to the page.
As you can see here, I’ve added a frame.
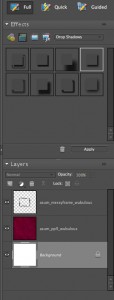
You can change the layering of items on the page by dragging and dropping within the layers panel.
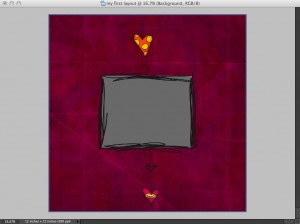
I added a second element, some heart doodles, to my page using the same process.
Step 4: Adding photos
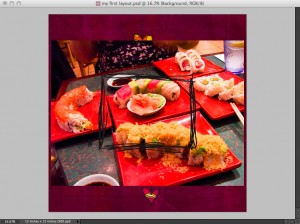
When I add photos to a page, I find it is most helpful to create a box the photo will fit in. Start by selecting the “Rectangle Tool” from your toolbar.
Then, use this tool to draw a rectangle the size you want your photo. Your new rectangle might not be on the desired layer. You can drag, within the layers panel, to change the layer order.
Now, you want to make sure your “Move Tool” is selected again.
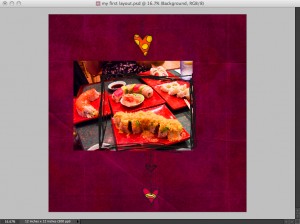
Click on your new box so that its layer is selected in the layers panel. Go to “File” and then “Place” to locate and place the photo you want to add to your page. Hit “Enter” to confirm the placement. This simply places the photo in the layer above your rectangle.
Now you want to re-size and move the image so it is in the correct location. Normally, you can resize an image by dragging from one of its corners. To scale an image properly, hit the alt (option on Mac) key at the same time. You can also use your “Move Tool” to drag your photo around the page. In doing this, you want to keep in mind the box you have created below. You want the re-sized image to fully cover the box.
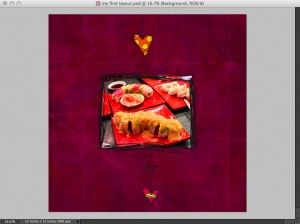
To crop your image to the box you created, you will use “Ctrl-G” (Cmd-G on Mac). This is what as known as a “Clipping Mask”. You clipped the photo to rectangular box below it. I use this is every single layout. You can clip any image to the shape of the one below it.
Step 5: Finishing Touches
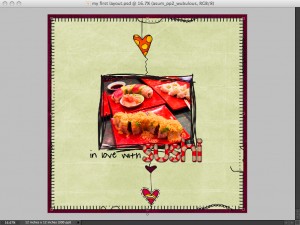
You might find that your background paper doesn’t quite fit afterall, but you love the color or pattern. Use it to mat another background paper. Add in stitching or other borders, alpha or text titles and additional embellishments as you desire. Use drop shadows to add dimension.
One your layout is done, it is time to save it. If you go to “File” and “Save”, this will save your file as a PSD. You definitely want to do this, in case you need to make any changes.
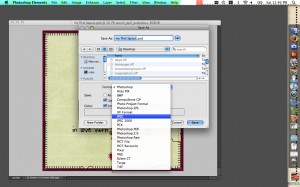
However, you also will want to save your file as a full resolution jpg. Choose “File” and “Save As”. When the prompt comes up, look for the “Format” drop-down and choose “JPEG”. Make sure the location where you want to save is selected and then save. A prompt will come up, asking about the quality you want to save at. Move the slider all the way to the right, to choose the maximum quality. This will be the file you print from.
Finally, if you want to share your layout on the web, follow the directions in this post to create a smaller, web-ready image.
Do you have a question for Simple Scrapper? See the answer here next week!

This tutorial helps but there are a lot of unanswered questions that come to my mind. I guess the only way that I can get the ansers for my questions is to find someone and talk with them. I’m just going to have to do some looking around until I find a digiscrapper to talk to. Thank you for your help.