This is a guest post from team member Pam Lozano.
Tackling big projects, like scrapbooking a roadtrip, can seem like a daunting task at first. You go on the road with your family or friends and come home to a memory card full of hundreds of precious photos and a bag full of memorabilia. But where do you start?
Often the pictures get printed. Perhaps you even buy the album or the products you intend to use. Maybe you create a page or two. But the project seems so big that it just doesn’t get done. Having completed about 8 full size 12 x 12 albums of summer roadtrips with my best friend, I am here to share with you a few tips on what works for me. Hopefully some of these tips will help you get yourself organized and simplify the process enough so that you can get those memories scrapped and ready to enjoy.
(Note: Some of these steps can easily be done while sitting in front of the TV which makes it even better.)
1. Select the photos to print – and be choosy.
Modern technology has made it so that we can take hundreds, even thousands of photos without it costing us a single cent. However, when creating an album like this it is more realistic to scrapbook 100 vacation photos than the 589 you took.
Don’t be afraid to discard repeats, out of focus images or photos that do not add any value to your overall story. Your family will appreciate having a record of the trip in an album that can be viewed in one sitting and not the three volumes it would take otherwise.
Another tip is to print photos in sizes you commonly use. For example, if a lot of your photos are from Instagram, then print them at 3×3 or 4×4. I also like to feature a lot of photos at once, so I create and print mini collages at 4×6.
2. Break down each printed photo into smaller groups of 1-5 photos that could fit on a single layout.
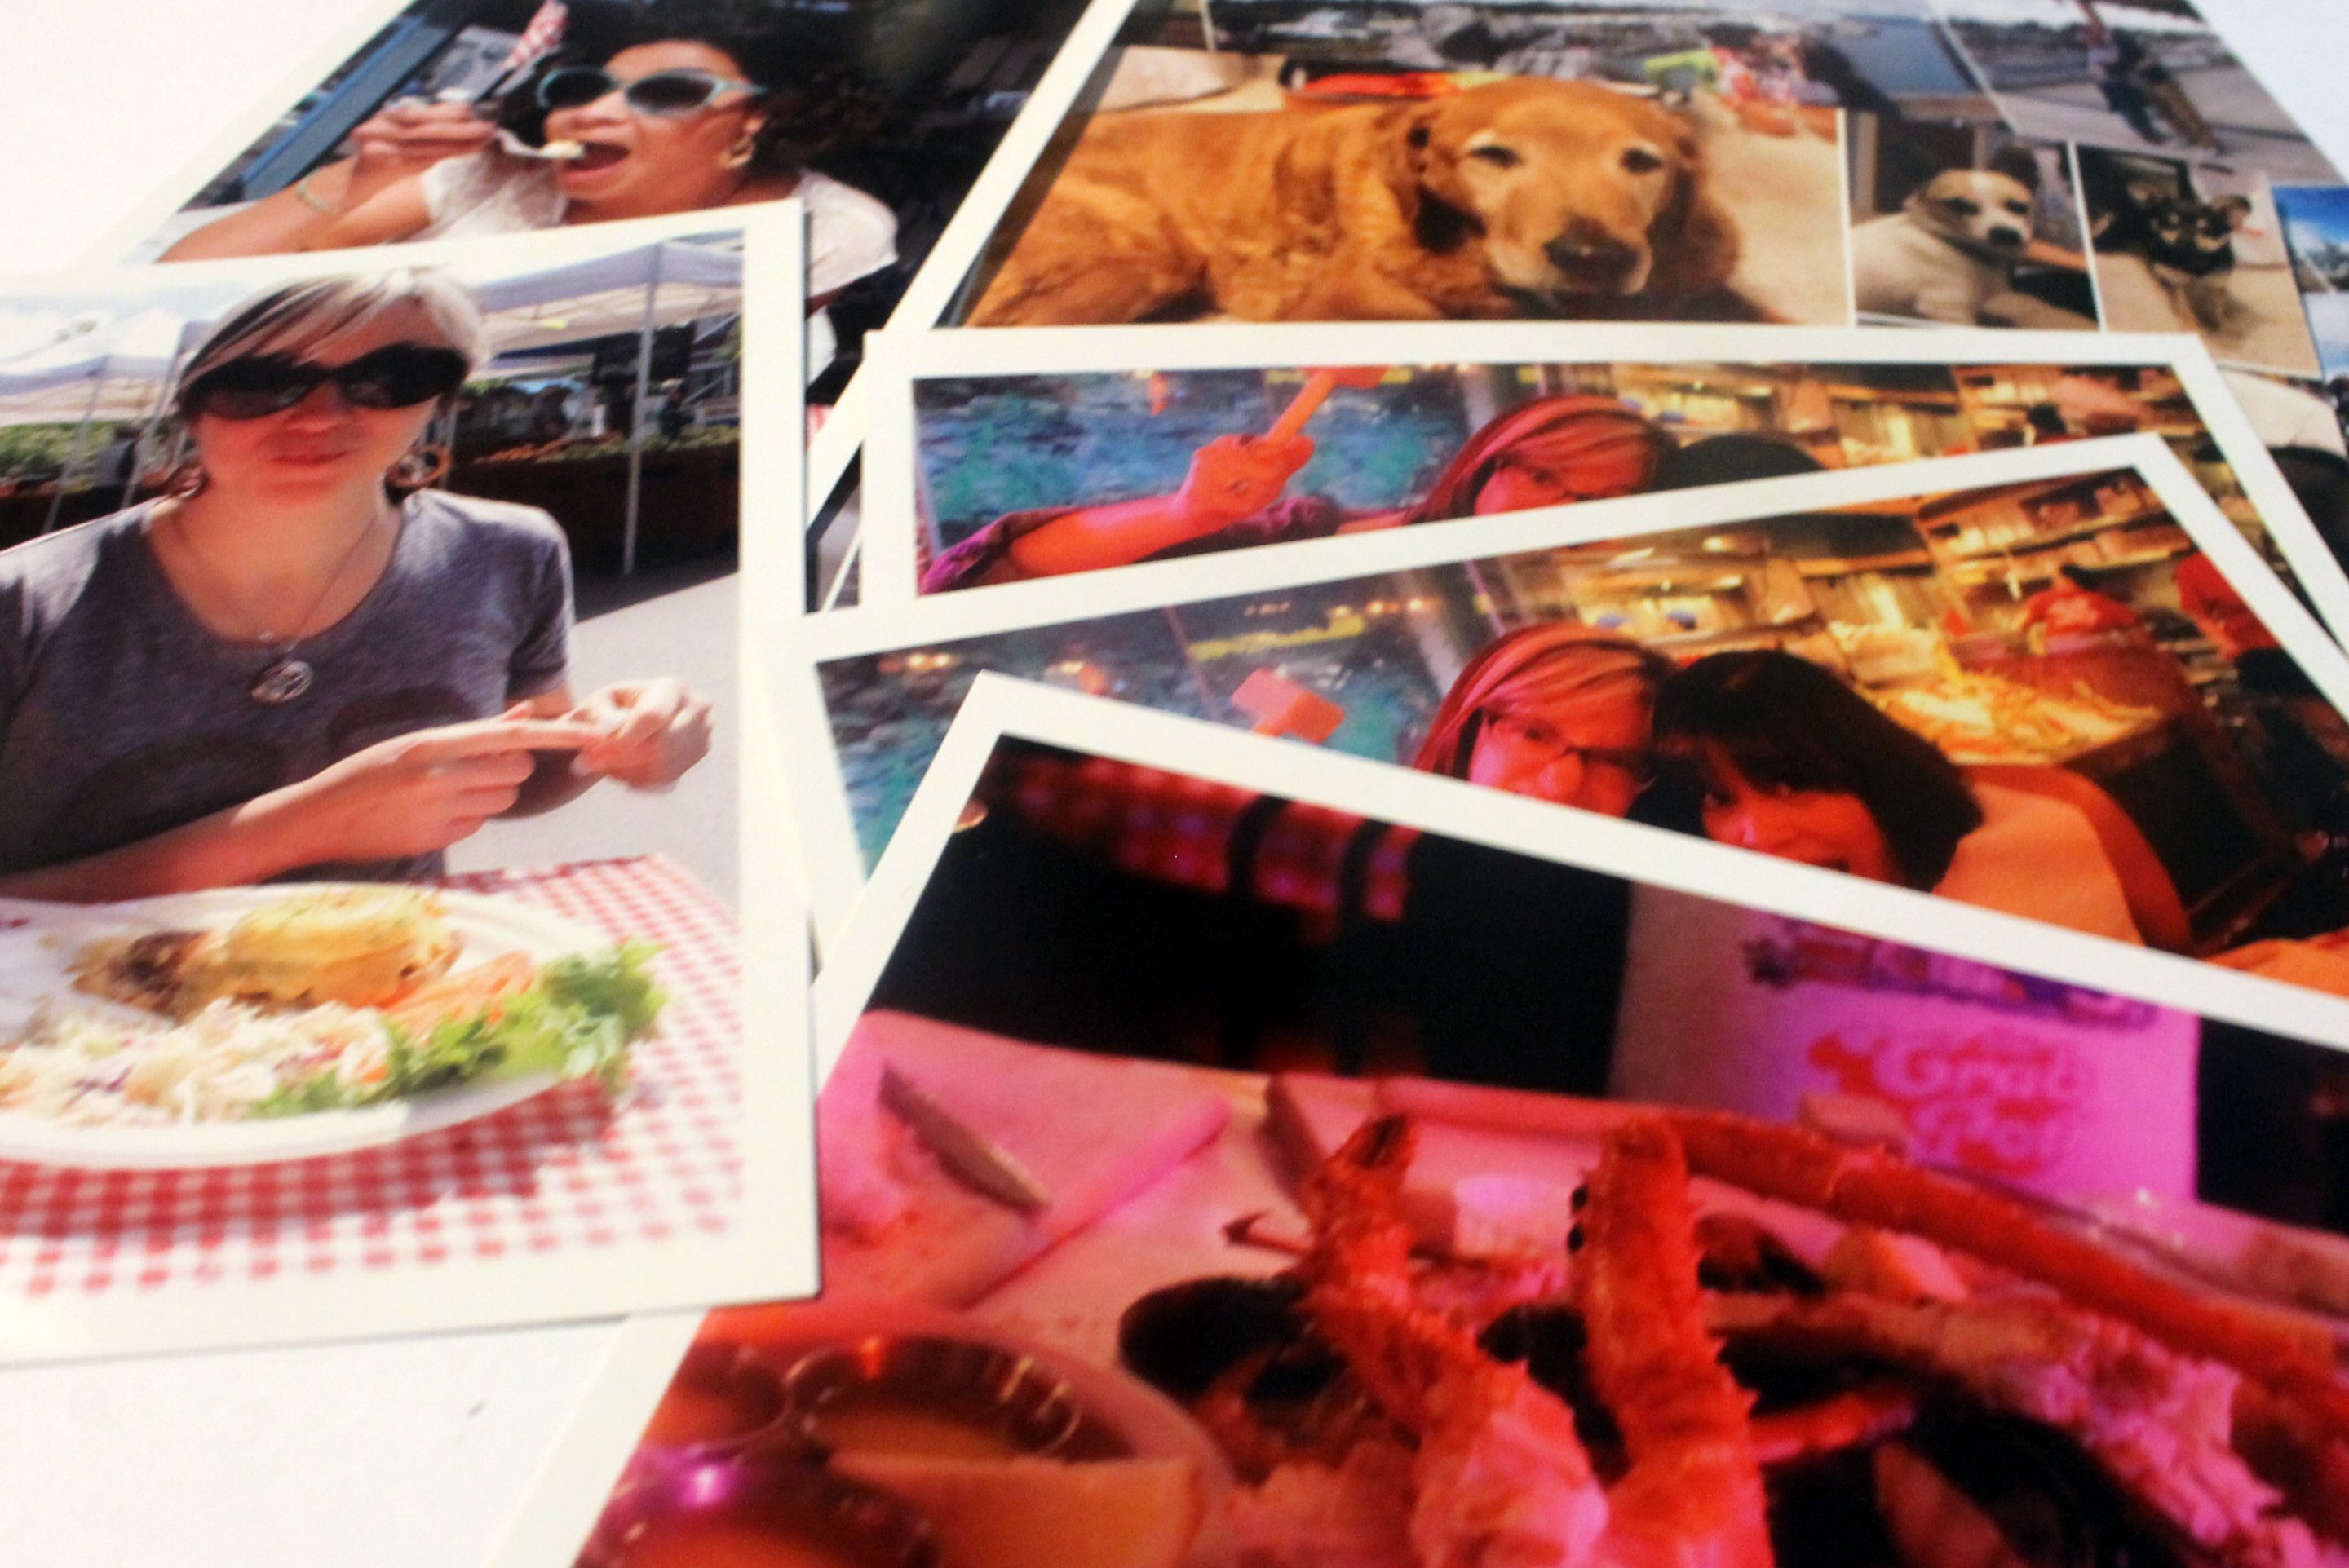
When looking through your photos try and find specific stories you want to tell. This may be relatively easy if you stick to scrapping pages based on events or places, for example “all photos at the Grand Canyon”. But it can also reveal some themes of the trip if you don’t limit yourself to photos that were taken on the same day. For example, you can document a story of napping on the road by combining all the photos of different people sleeping taken at different times throughout the trip.
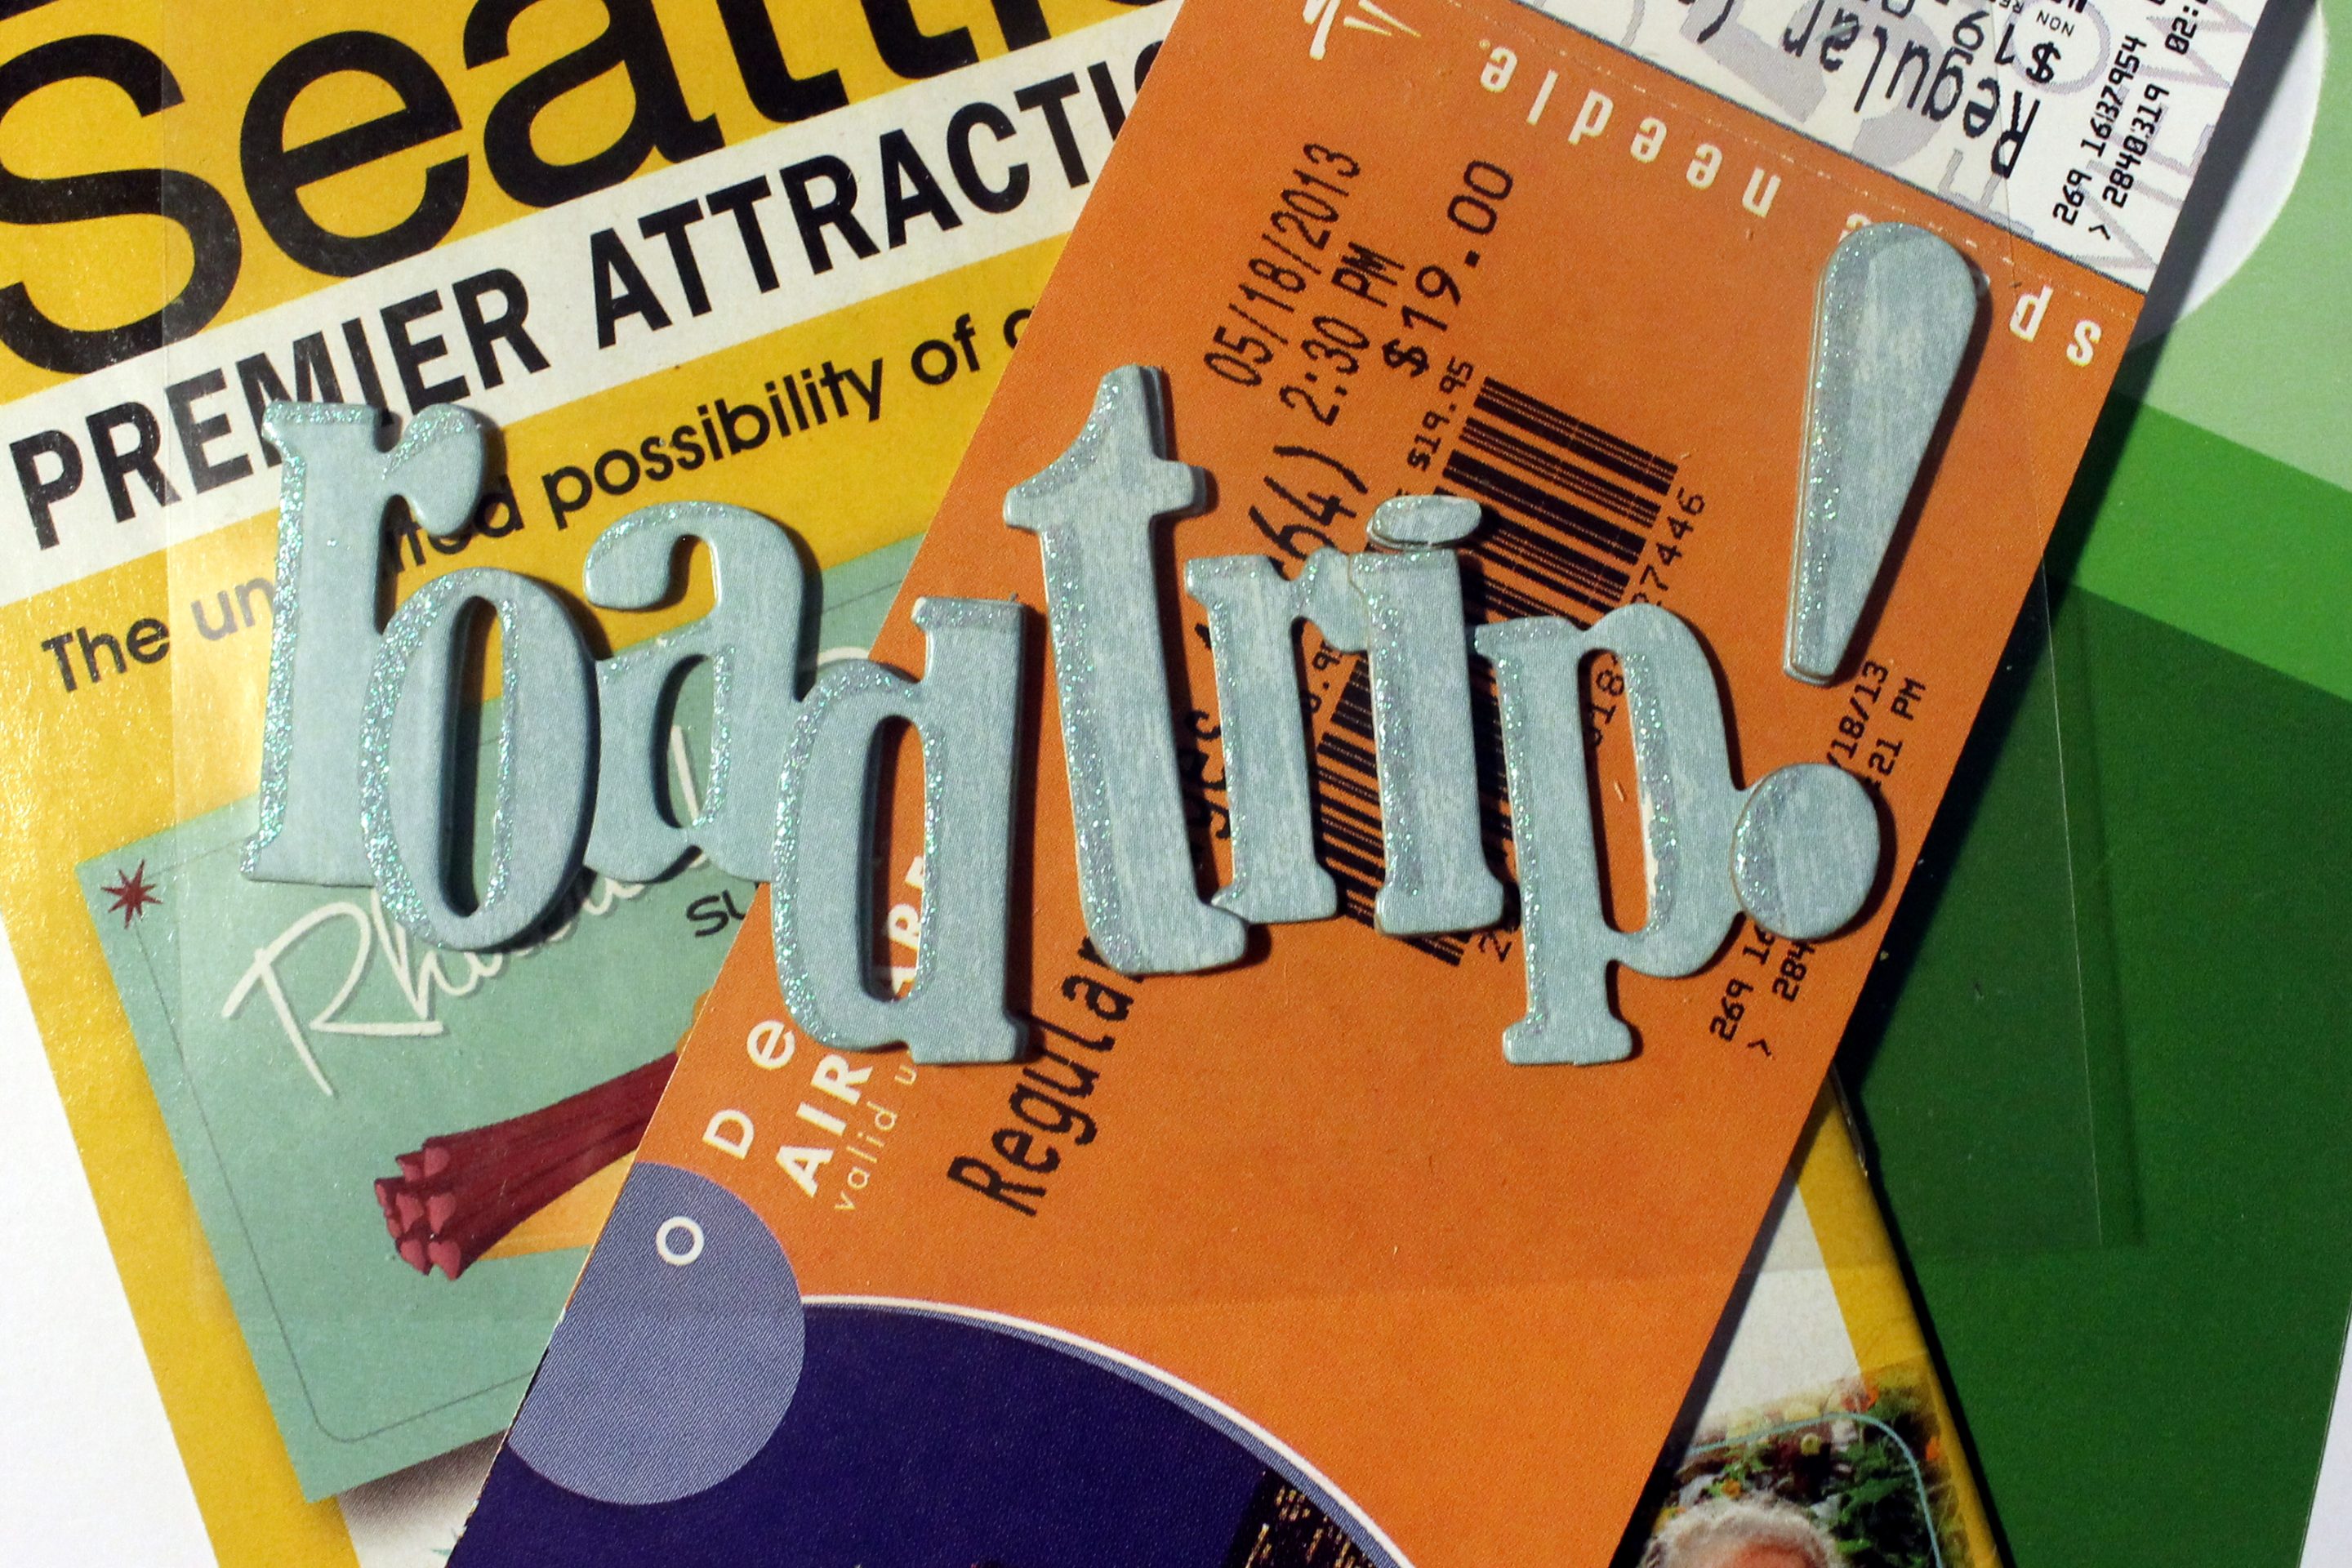
3. Go through the memorabilia and select specific items you would like to include. Put the rest aside.
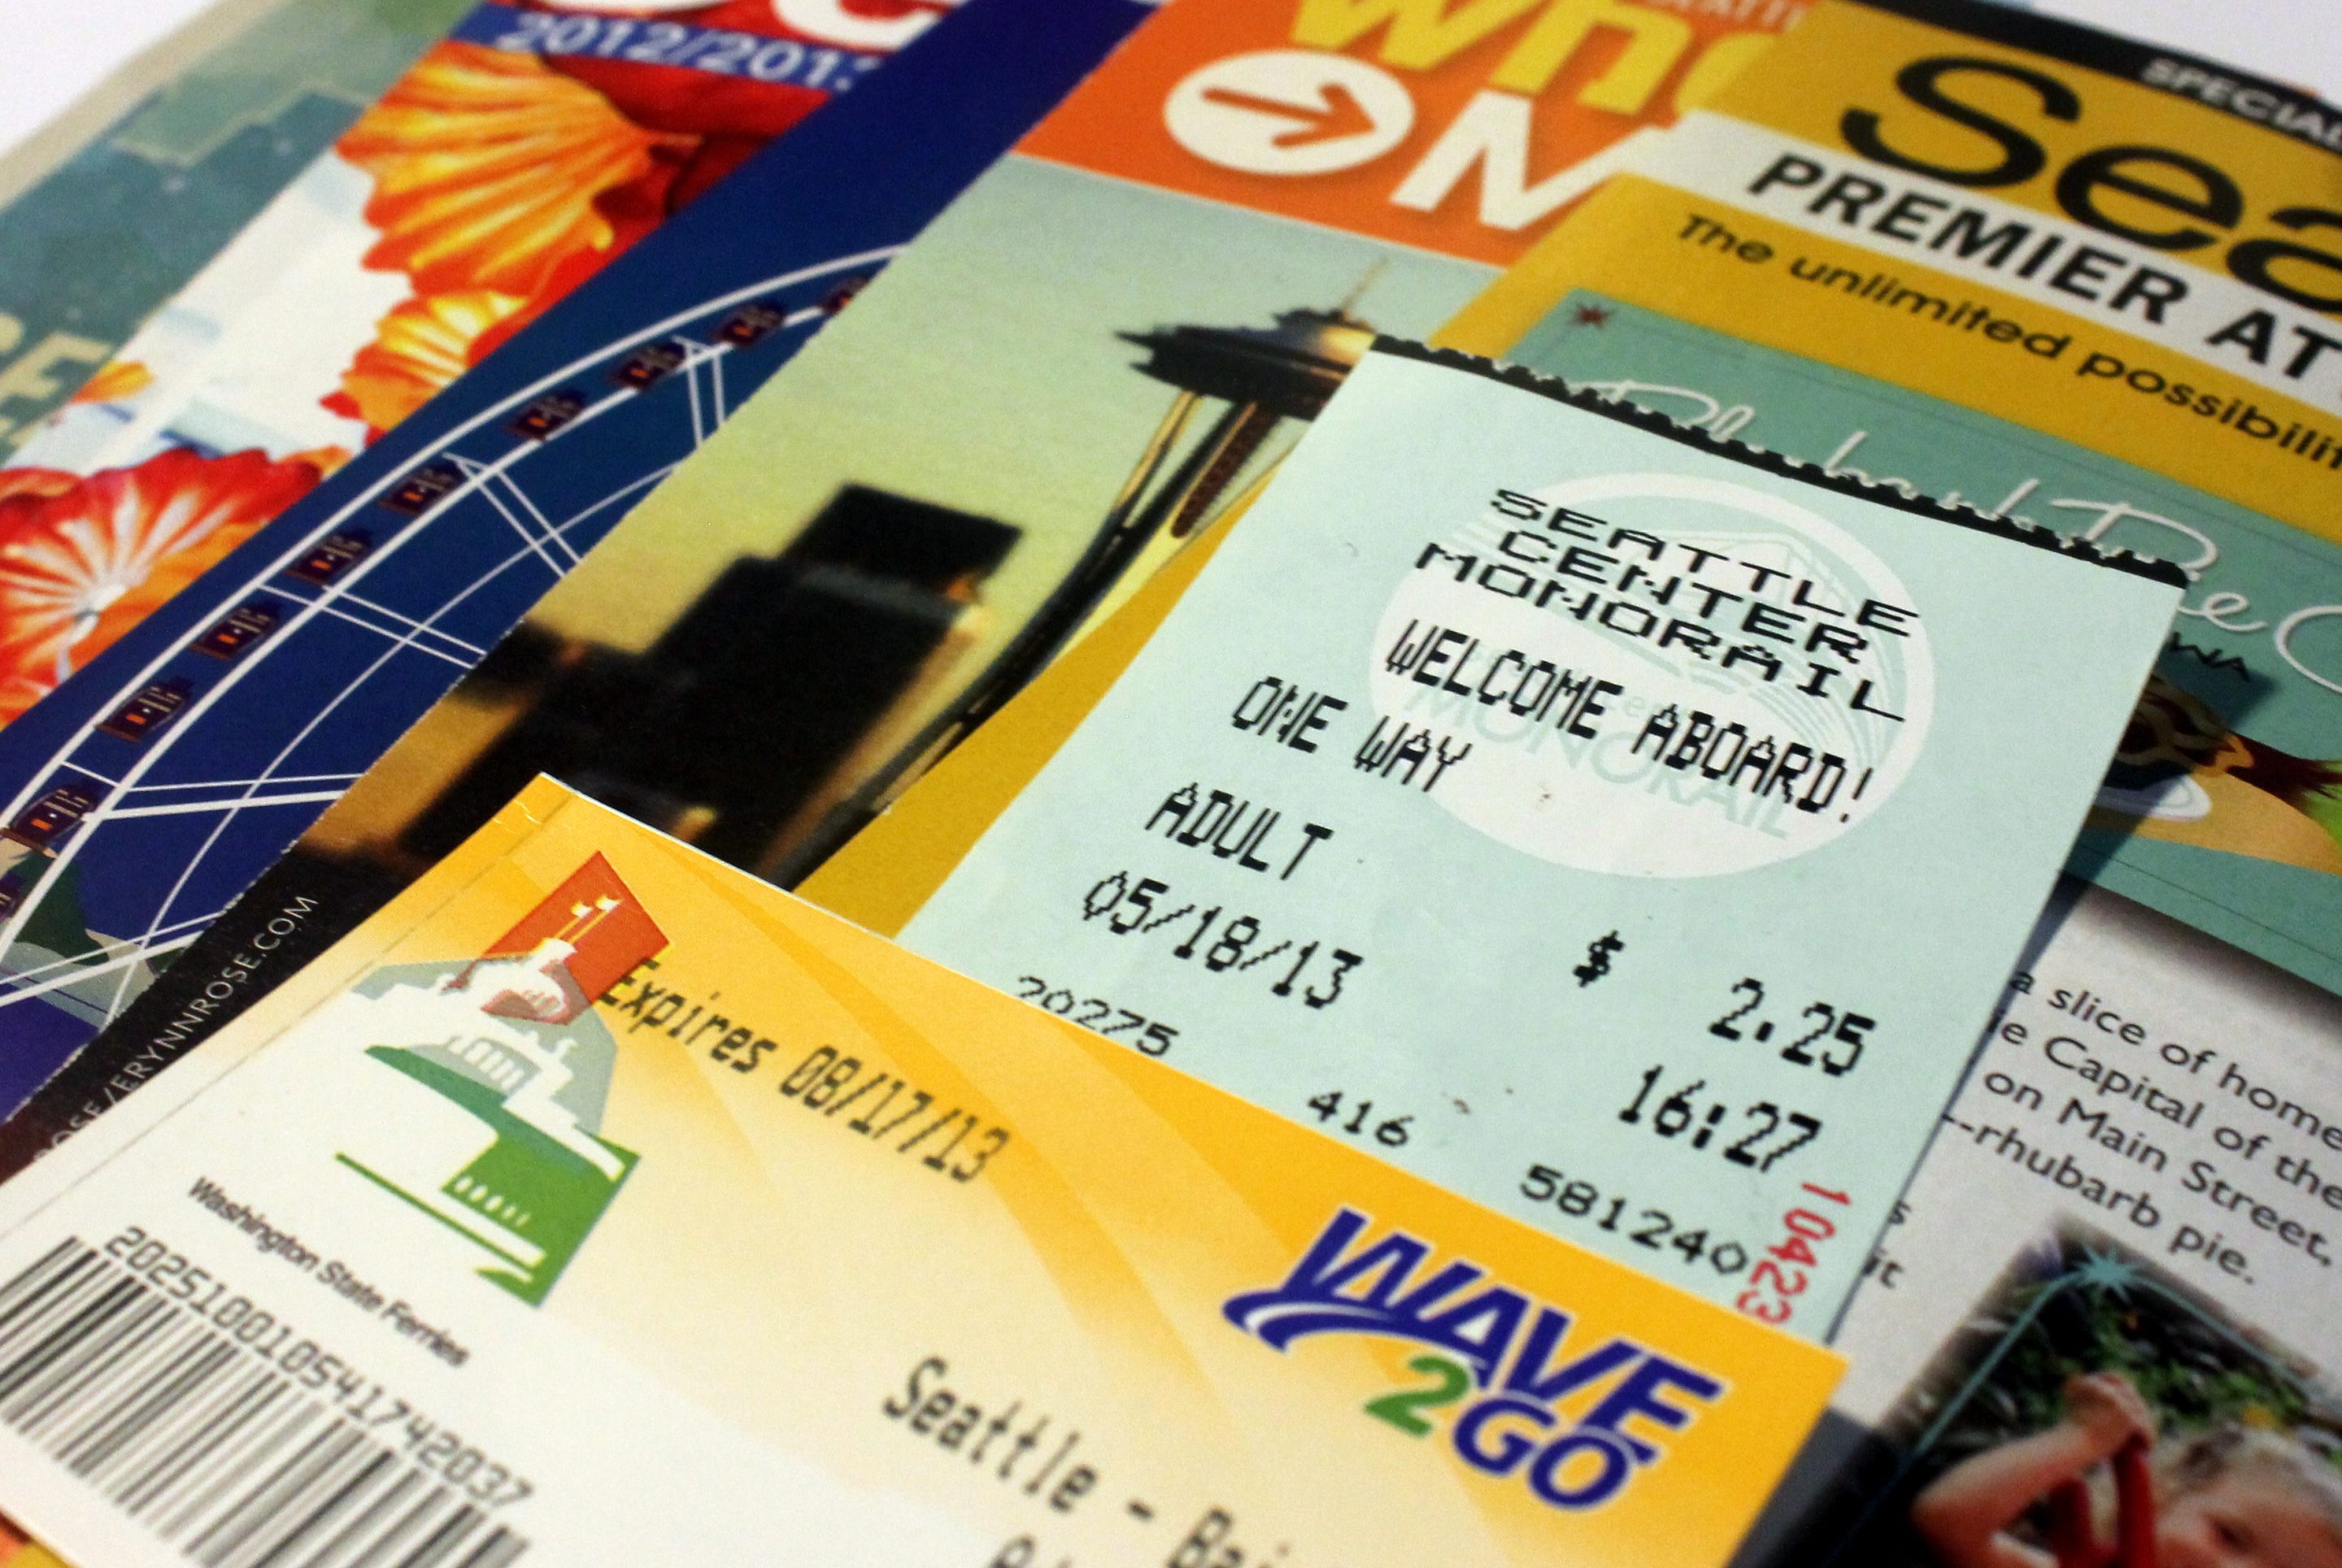
It’s tempting for us scrapbookers to pick up brochures, business cards, stickers and tickets everywhere we go. But the reality is that we don’t use these as much as we’d like. I suggest you visit your stash of collected items early on in your process and decide which items you must use. You will be more likely to use them if they are a part of your process from the beginning, rather than an afterthought. The rest can be thrown away. (If you cannot part with them, I suggest you add them to a large folder or envelope that can be incorporated to your album.)
4. Add the memorabilia to each pile of printed photos
Now that you have piles of photos and the most precious memorabilia, match the two together. Also in this step, you can rummage through your vacation supplies you stocked up on and add a piece or two to the piles you would like to use them with, just so you don’t forget. Like adding that perfect die cut with the cute little beach animals to your beach day or the small license plate sticker you got at a gift shop to the pile for that state.
5. Assemble the entire album by inserting the small piles into page protectors in the order they will be in your album.

Doing this means that your album is essentially put together.
Feel free to scrapbook the pages out of order! Scrap the photos that inspire you first and leave the others for last. This process doesn’t work if you stumble on a page or even that blocks your creativity and force yourself to do it because it is next in the timeline. Give yourself permission to skip around.
And don’t feel bad about showing your work in progress. Even when a few pages are still incomplete people can enjoy the essence of the album.
6. Select a sketch to work with the number of photos and memorabilia you have.
By the time you reach this step, the hard work is already done. You just have to decide on a sketch. Simple Scrapper has a resource available to its members that allows you to find sketches based on the number of photos. I love this tool and use it often. Since you already know what you want to include on your page you can easily make this selection. Remember to include space for your memorabilia. For example, if you have three photos and a map, perhaps try to find a sketch for four photos.
7. As time allows, select a page to work on
You can complete the project over a weekend or several weeks, but by having it all already figured out means you can easily bring this project with you to crops or crafting afternoons with your friends.
Editor’s Note: Have you ever scrapbooked a roadtrip? What did you learn from the process?

What a great post. I love the way a somewhat daunting task has been broken down into easy, manageable chunks. It makes me feel like I could really manage something like this. I always end up just making odd random pages that don’t end up looking cohesive. Pam, your album looks like its going to be amazing. 😉
Great post! I agree wholeheartedly on only using the best pictures and culling out the not great ones. No one wants to look at several blurry photos of something.
I love scrapping a trip. For me, it gives the project a focus that I otherwise have to struggle to find. Mini-books seem to be made for scrapping these discrete pieces of time. Like you I know the importance of culling the bad shots, and using only the best. I think it makes be a better photographer, because I think about the album to come while I am taking the picture. Great topic, thank you for sharing.
Your mode of explaining everything in this article is genuinely fastidious, all can without difficulty be aware of it, Thanks
a lot.