In this guest post, design team member Jess Forster offers convincing reasons to use black and white photos more often.
Have you ever sat down in your craft space, inspired to create a layout, but something is off with your pictures? Perhaps your photos don’t go with the products you have picked or they are blurry.
If you are like me, chances are you have run into these problems a few times over the course of your scrapbooking life. Instead of being stuck, there is a simple solution to this design challenge: convert your photos to black and white. This is an easy technique and one I revisit time and time again on my pages.
Why Choose Black & White over Color Photos?
1. Gives photo a classic and dramatic look

As you can tell from the photo above, there is a yellow tinge to my husband’s face. Although I love his expression and how my daughter is sleeping peacefully in his arms, the result is not exactly the look I was going for. To help preserve this moment in time, I converted this photo to black and white for the May 2012 Assignment below.
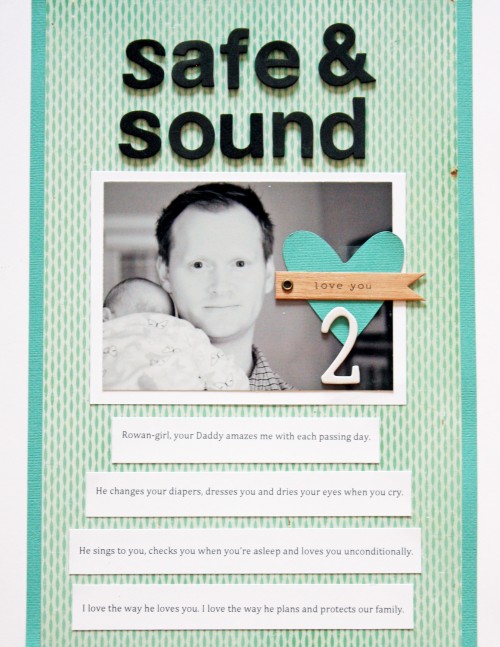
I love how this picture stands out. It accurately reflects a certain time period in our lives and no doubt will be a photo we refer to when we look back on my daughter’s early days.
2. Hides imperfections in the photos

Here is another photo of my daughter and me out for brunch. As you can tell from the original photo, it’s a bit blurry, our outfits don’t match and there are some distracting elements in the background. A simple switch to black and white helps breathes new life into this photo and gives this March 2012 layout and extra pop it needed.
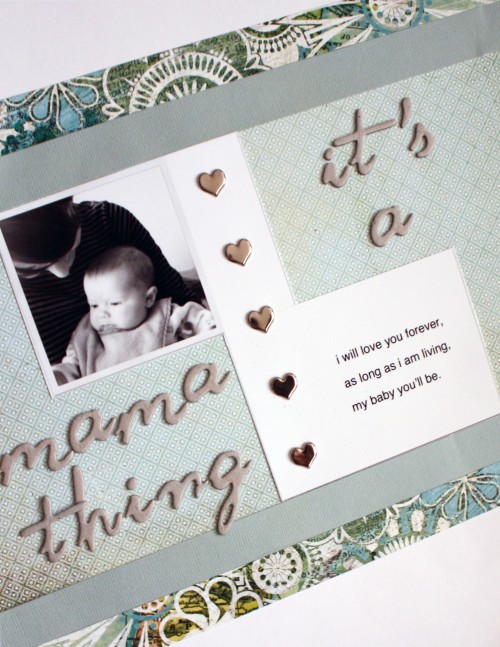
From this layout, you can hard tell that the photo is out of focus or that our clothes don’t match. Also great? My daughter’s face is better defined in this photo than the original.
3. Creates a cohesive look for multiple photos.


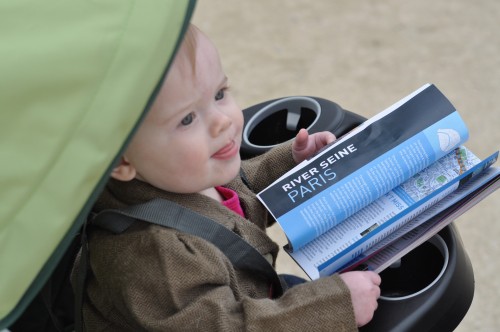
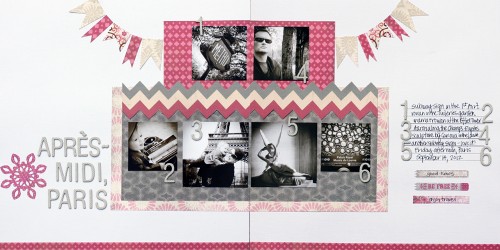
Recently, my family and I took a trip to France. Inspired by many of the pictures, I was overwhelmed with all the colours….so much confusion! As you can see in this October 2012 assignment, I was able to achieve a unified look of my travel photos by converting to same black and white tone and then placing them on a double page layout.
This is a great solution if you have multiple photos from one event and you would like to make double page layouts.
Tips for Taking Black and White Photos
1. Don’t forget about composition.
The same rules apply for creating a great black and white photo as they do for photo in color. When taking a photo, be mindful of the rule of thirds, elements in your background and foreground and your perspective.
2. Shoot you photos in color and then convert to black and white.
When you shoot in black and white you tend to lose detail your digital images. Instead of taking black and white pictures with your camera, simply convert your photos to black and white in Photoshop or have them printed in black and white at you local photo developer.
3. Light is key.
Pay attention to the quality of light. Small details often get washed out when shot in bright light. Many photographer agree, overcast days, as well as early morning or afternoon is the best time to capture images for black and white photos.
Do you scrapbook with black & white photos?


0 Comments